How to Make a Macrame Wall Hanging - Featuring Art Yarn

Macrame – A Beginner’s Tutorial
Over the last few years we have watched as multiple fiber art techniques regained popularity with both artists and art lovers. One of those outlets we all know and love? Macrame!
When you think macrame, what comes to mind? Probably the 1960/70’s era? That famous hippie/gypsy décor style? Maybe your mom or grandma even has stories of creating macrame “back in the day” using the natural jute cord once typically utilized. Macrame has a surprisingly rich history dating all the way back to the 13th century! While there are so many amazing details regarding the development of this art, my personal favorite story is how in the 17th century Queen Mary II regularly taught her ladies in waiting how to macrame!
During the last five years in particular the development of macrame has changed drastically. Styles have changed, supplies have changed, and the amount of artist across the world pushing the boundaries of this art daily are continuing to expand the possibilities of this artistic outlet. Today’s popular macrame styles are being created with gorgeous and soft ecofriendly cotton fibers, a rainbow of colors continuing to come available as manufactures push to meet demands, and countless artists continue to add variety of additional textures and knot patterns creating their personal style in the art world.
So what do you need to start your macrame journey? The exciting answer to this is that you truly only need 4 things, and changes are you already have 2 of them in your home now!
You’ll Need
Macrame Cord
Sharp Scissors/Shears
Measuring Tape/Ruler
Dowel/Treated Driftwood/Treated & Stripped Branch
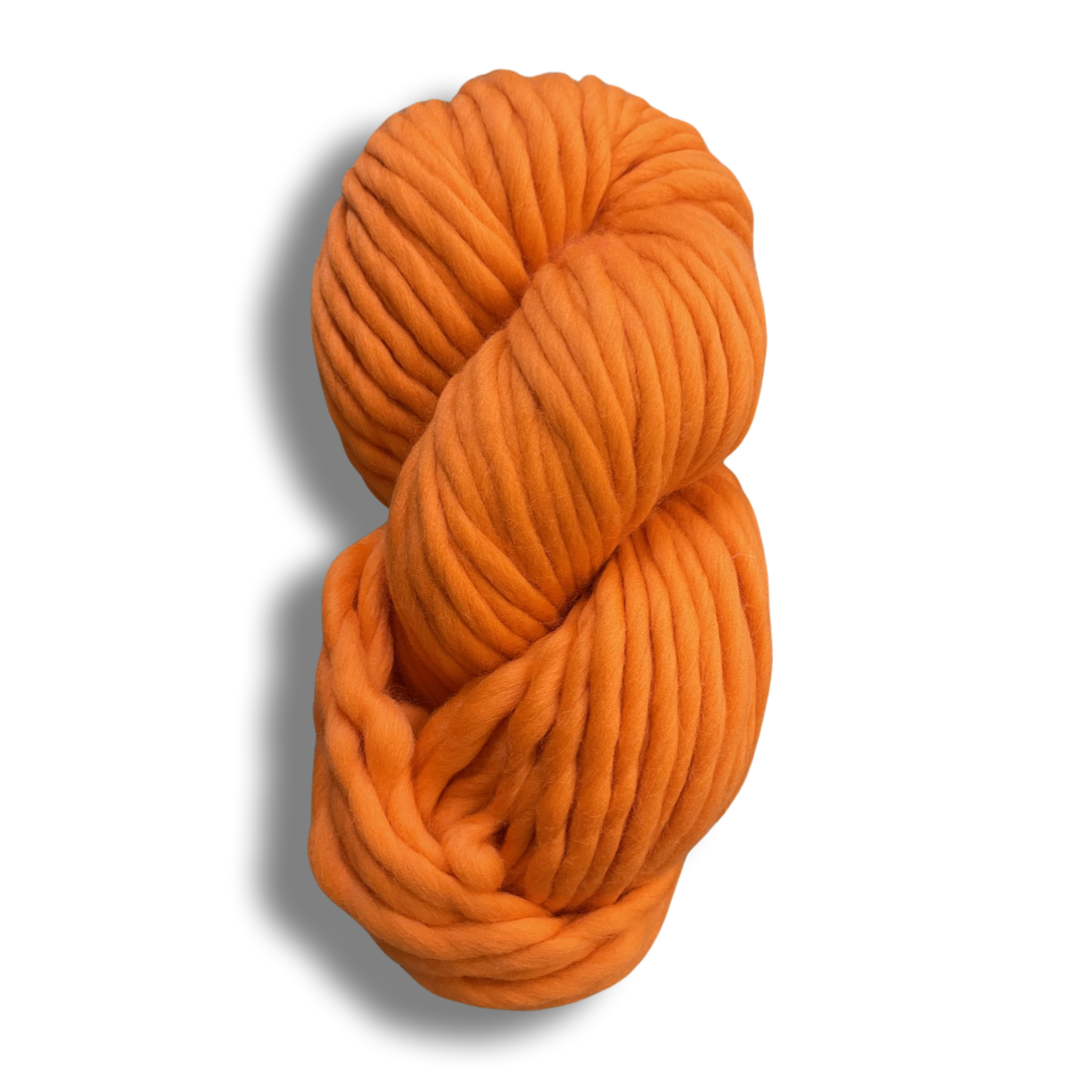
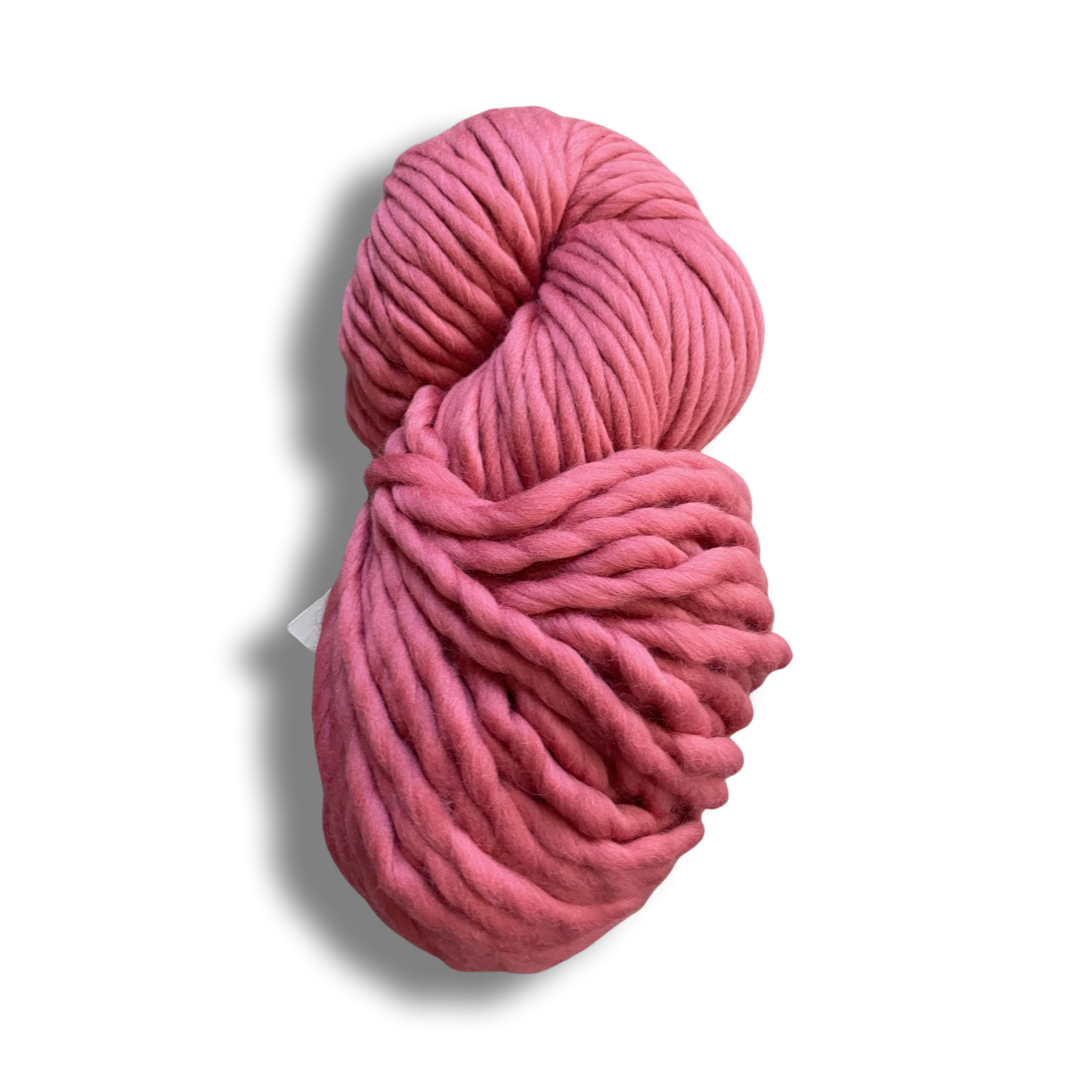
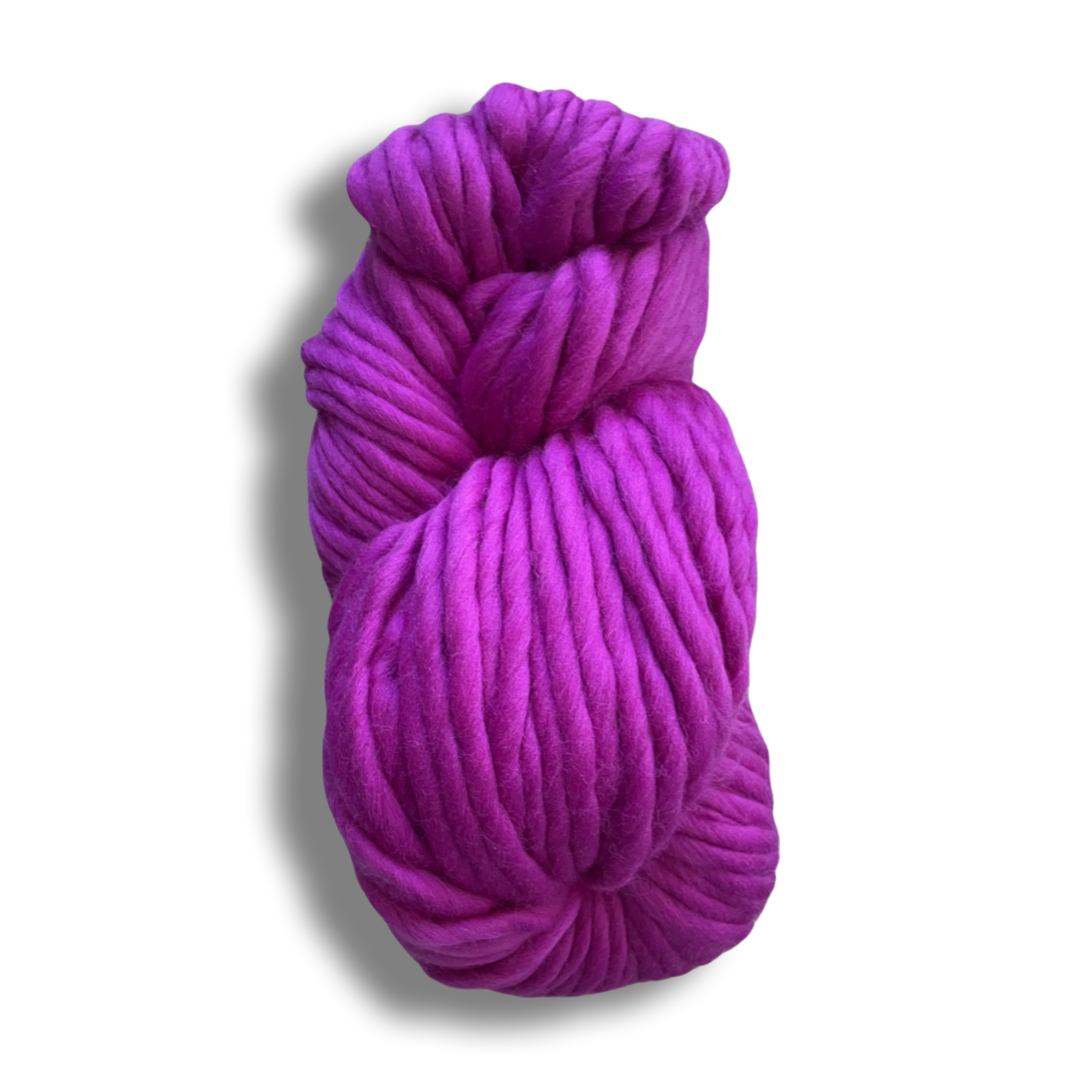
Being both a macrame artist and weaver myself I personally love being able to incorporate additional fiber textures into my pieces, crossing supplies over to the next project to create a unique piece. So today we are going to make a medium sized macrame wall hanging utilizing Galler Yarns Super-B 12-15mm yarn as a gorgeous fringe. Best part about this wall hanging? You can complete it the entire thing with only TWO macrame knot styles! It is that simple!
What you will need:

5mm Macrame Soft Cotton Single Strand Cord: 6 cord cuts, each 7 ft long
Super-B 12-15mm Yarn: 24 cuts, each 20 inches long
12 inch dowel/driftwood/branch
Sharp Scissors
Note:
You can utilize colors fitting your own style preferences and use different styles of extra chunky yarn for the fringe or you can also choose to use macrame cord for the fringe. If you intend to use a natural branch or piece of driftwood be sure to treat it prior to use or soak it in bleach, ensuring it is clean with no chance of bugs.
You can complete your project sitting at a table, but it is a lot easier to complete while your dowel in hanging. Hang you dowel from a clothing rack or on the back of a chair if you find it to difficult to complete flat.
Let’s get started!
Nearly every macrame project starts with one super knot. The LARKS HEAD KNOT. This knot is used to attach your cord to the dowel, and we will also use it later in our project to attach our fringe!

Step 1: Take one of your macrame cords and fold it in half. Place the center of your cord over the top of your dowel.
Step 2: Take the center of the cord over and behind your dowel creating an overhead loop.
Step 3: Feed both of the ends of your cord through the loop from front to back.
Step 4: Pull the ends of your cord straight down, ensuring you pull them evenly so that the center of your cord remains at the center of your loop.
Step 5: Tighten your knot against the dowel and ensure it is snug.
Step 6: Attach all six of your cords to the dowel following steps 1 – 5. Attach three on the right and three on the left, with approximately six inches in between the two center cords.
Now for the second and last knot you will need to learn! The DOUBLE DIAGONAL HALF HITCH KNOT/CLOVE HITCH KNOT. This know is used to create diagonal, vertical and horizontal lines that you can use to create countless designs.

We are starting on the right-hand side of our dowel. The cord on the far left of the 6 strings hanging is called your LEADER CORD. This cord is going to do exactly what is sounds like, lead your knot design to where we want it to go. You are knotting around this cord and this cord only each time. You will also notice that during each knot we are going to create a pattern that looks like the number “4” with the two cords we are working with each time.
Step 1: Take your leader cord (far left) and place it at a diagonal towards the right over the rest of the cords. Now take the second cord from the left and create a shape like the number 4 and place the end over your leader cord.
Step 2: Maintaining the shape of your second cord (remember it looks like a 4!), feed the end of that cord over the top and behind the leader cord from right to left and through the loop you have now created. Continue pulling that second cord through at a slight angle and let the knot gently rise up to the top of the leader cord. NOW REPEAT THIS STEP WITH THE EXACT SAME CORDS! This is why it’s called a DOUBLE diagonal half hitch knot!
Step 3 – 9 Pictured: Do exactly the same as you did in Steps 1 & 2, moving on to cord 3, 4, 5 etc. Don’t forget to keep your leader cord at a diagonal to maintain the design and to repeat the steps per cord to create the double knot. During this knot the cords need to be pulled tight enough to maintain the design, but do not pull them so tight that you begin to lose your line.
You have now completed your first line in the design and have learned all of the knot patterns you need to complete your wall hanging! Let’s keep going! You’re doing great, the hardest part is over now that you have figured out how to complete your knots!

Now to complete the right-hand side of your wall hanging we have to complete the design. To do this you are going to continue with the Double Half Hitch Knot, but this time you are going to do it in the opposite direction. This means that your LEADER CORD is now the cord on the far RIGHT. Notice that you are still going to see the shape of a “4” during the process of creating your knot!
Step 1: Take your leader cord (far right) and place it at a diagonal towards the left (this time I pushed aside the rest of the cords so you can see the pattern a little more, though it will not look this way if your dowel is hanging). Now take the second cord from the right and create a shape like the number 4 and place the end over your leader cord.
Step 2: Maintaining the shape of your second cord feed the end of that cord over the top and behind the leader cord from left to right and through the loop you have now created. Continue pulling that second cord through at a slight angle and let the knot gently rise up to the top of the leader cord. REPEAT!

Step 3 – 9 Pictured: Repeat! Repeat! Repeat! Don’t forget to keep your leader cord at a diagonal to maintain the design and to repeat the steps per cord to create the double knot.
Let’s move on to the left-hand side of the dowel!
Follow the steps above to complete your design on the left, but notice the pattern starts with the leader cord being on the RIGHT this time!

YAY! Both sides of your macrame knot design are done! Let’s keep going!

We now have to attach the two sides of your macrame design together. To do this we are going to use the Double Diagonal Half Hitch Knot again, same as before, but one cord is going to be from one side and the other cord is going to be from the other side.
Step 1: Cross the two center cords from each side in the center of your design. Left cord being on the bottom, right cord being on top (this makes your right cord your Leader Cord!)
Step 2: Create your loop and feed the end of your left cord over the top and behind your Leader Cord.
Step 3: Pull your knot together and be sure to keep it completely centered.
Step 4: Tighten your knot so that both sides of your macrame design are now tightly together creating a semi straight line at the base.
Step 5: REPEAT Steps 1 – 4 creating your Double Half Hitch Knot.

Now that both sides are together you are going to create an addition row of Double Half Hitch Knots. This is not only adding to your design, but it is adding to the security of your design which will allow us to add our fringe without worry of the extra weight on our knots!
Create your Double Half Hitch Knots from right – left (stop in the center), then create your knots from left to right (stop in the center). To finish, create a Double Half Hitch Knot in the center of your design using the right center cord as the leader cord.
YOU ARE NEARLY DONE! Now comes my favorite part, fringe!!!

Using our Super-B yarn (or whatever you have chosen for your fringe) we are now going to finish our piece by using the first knot that you learned when attaching your cord to the dowel. The LARKS HEADS KNOT.
Step 1: Take one of your 20-inch cuts of yarn and fold it in half, creating a loop.
Step 2: Feed your loop through the outer edge of your macrame design, starting at the base.
Step 3: Pull the ends of your yarn through the loop from front to back.
Step 4: Tighten your knot and pull it down to the based of the macrame cord you are attaching it to, making room for more fringe!
Step 5: Repeat Steps 1 – 4 in the first section. Finishing with 4 Larks Head Knots in the section.
Step 6: Now repeat Steps 1 – 4 in the other two sections, working from bottom to top (this isn’t absolutely necessary, but it will definitely make things easier on you, so the fringe doesn’t get in your way while working.)
Step 7: Do the exact same thing on the other side!!!
Step 8: Okay, maybe this step was not needed, but take a second and look at all of that gorgeous fringe… like I said, my favorite part! So good!
Step 9: Line up your fringe to your macrame cords, ensure that the cords are laying properly and are not overlapping. Now carefully trip the excess macrame cord at a diagonal until it lays at a point that matches the line of your fringe.
YOU’RE DONE!!! Check out that amazing piece you just created!

wall hanging on the left uses Galler Yarns Super B & the wall hanging on the left uses some of our fabulous handspun yarn. You could spin your own or pick up some here!
Optional:
At this point you can choose to hang it on the wall with your dowel resting on a nail, or if you prefer to hang it from a hanging cord, cut a piece of macrame cord at the approximate length of how long you want it to hang based on where you are putting it. Tie both ends by using a normal every day double knot, and lastly complete ONE Half Hitch Knot per side to ensure it’s never coming undone!
And just like that, you’re a macrame artist! Along with the two knots you learned today there are countless knot patterns you can continue to learn during your macrame journey, creating and endless amount of possibility in the world of macrame. Happy creating friends, and I hope you love your new wall hanging!
Please Visit the Finely TWINED Website to Learn more from Courtney and shop for supplies like the cotton cord and other education you will need to get started!

BONUS: Watch a sped up video of me creating this exact design pattern but utilizing the absolutely gorgeous handspun yarn from @craftyhousewifeyarns

Learn how to spin your own Art Yarn
Did you know you can take our entire Dream Yarn Course online at home including our huge bonus section on spinning art yarn while supporting The fiber arts website My Local Wool?? It’s win win ! Please click this link to learn more and get spinning!


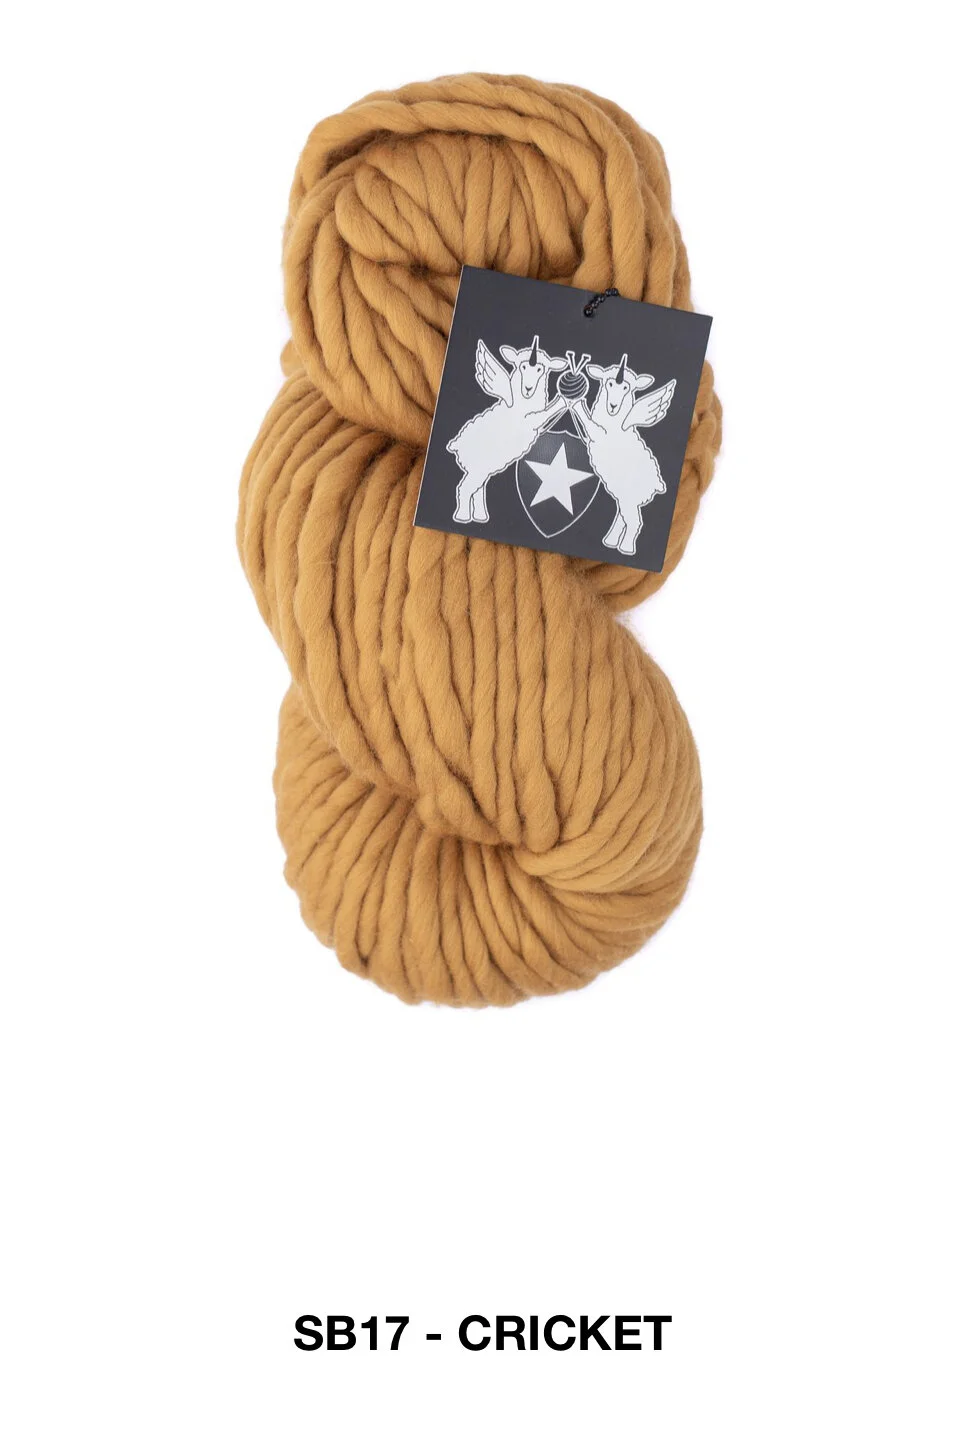

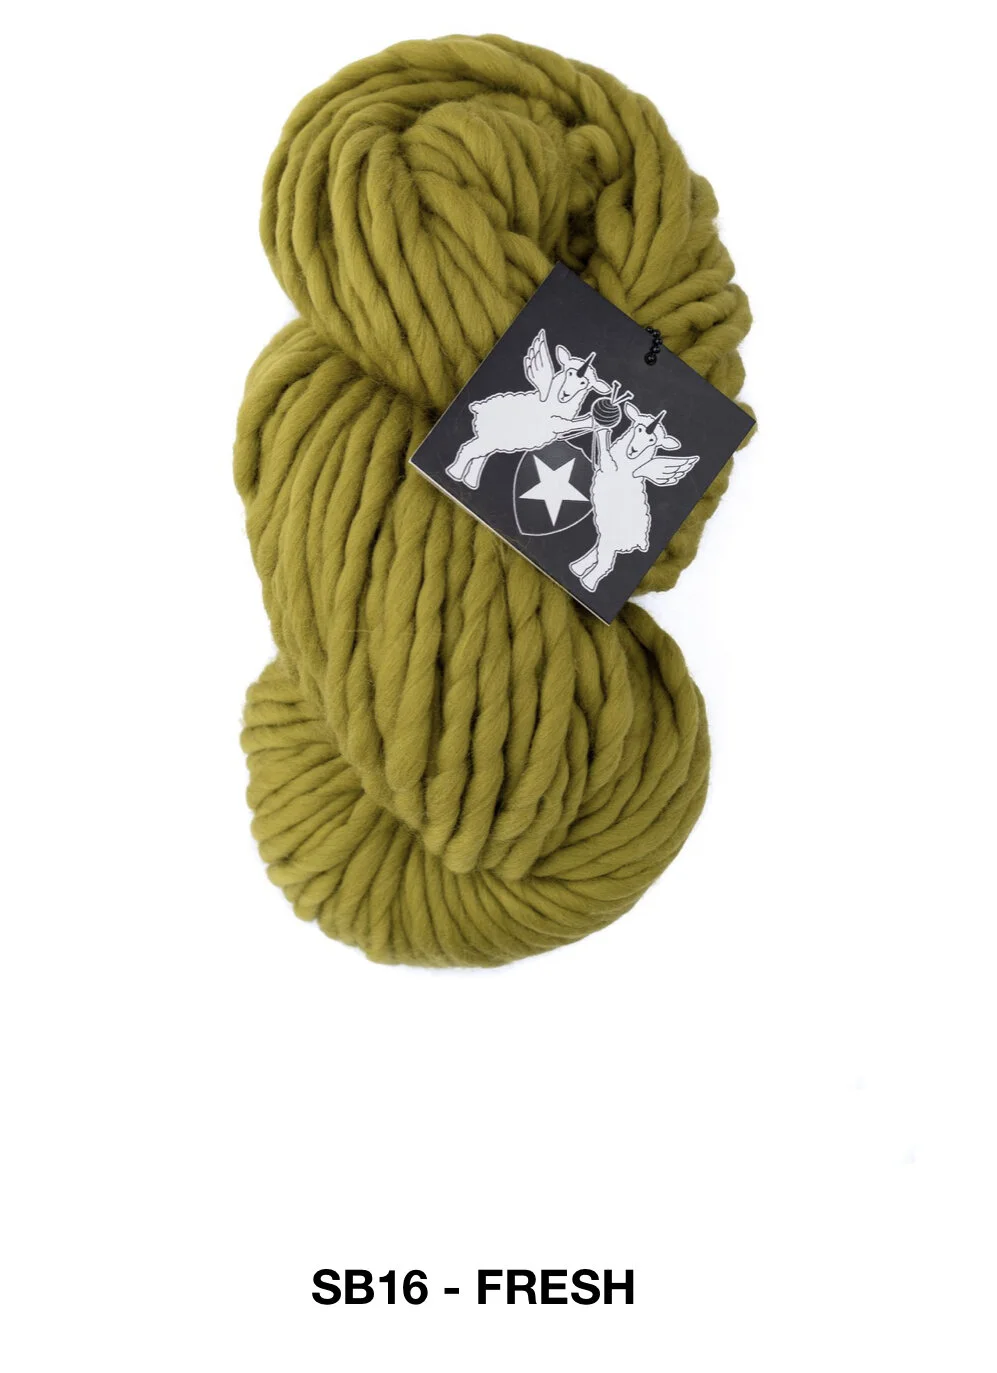

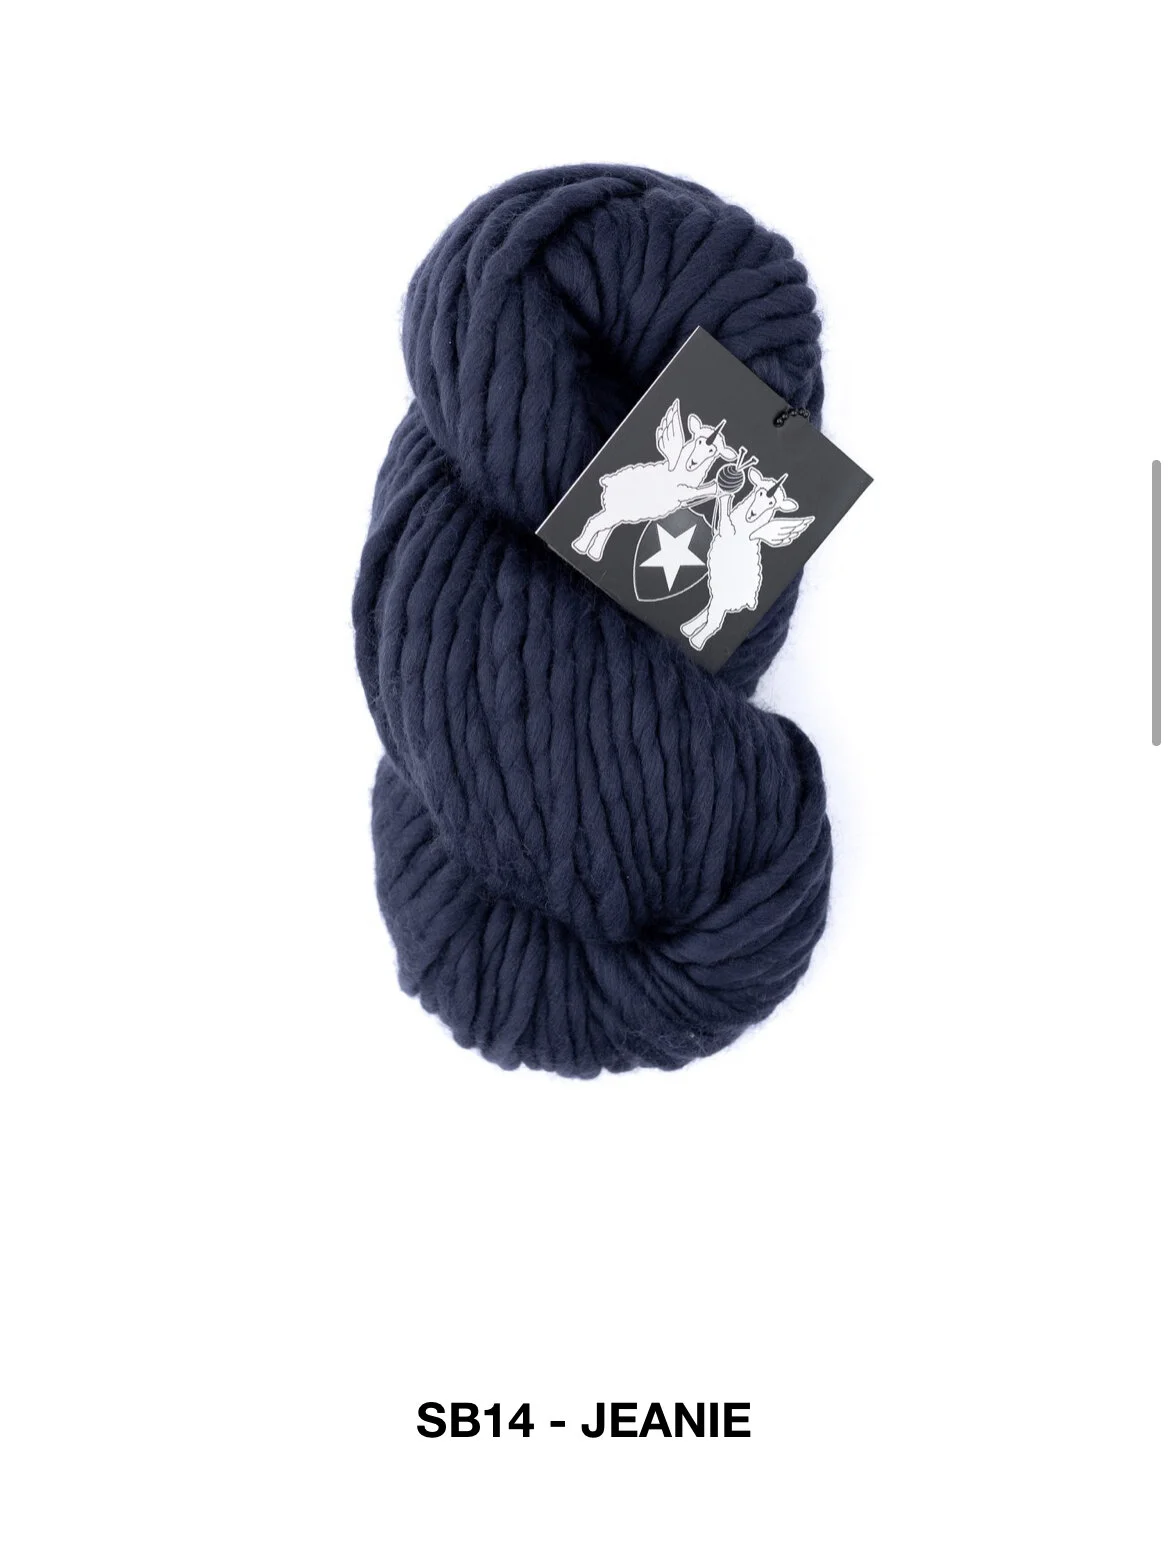

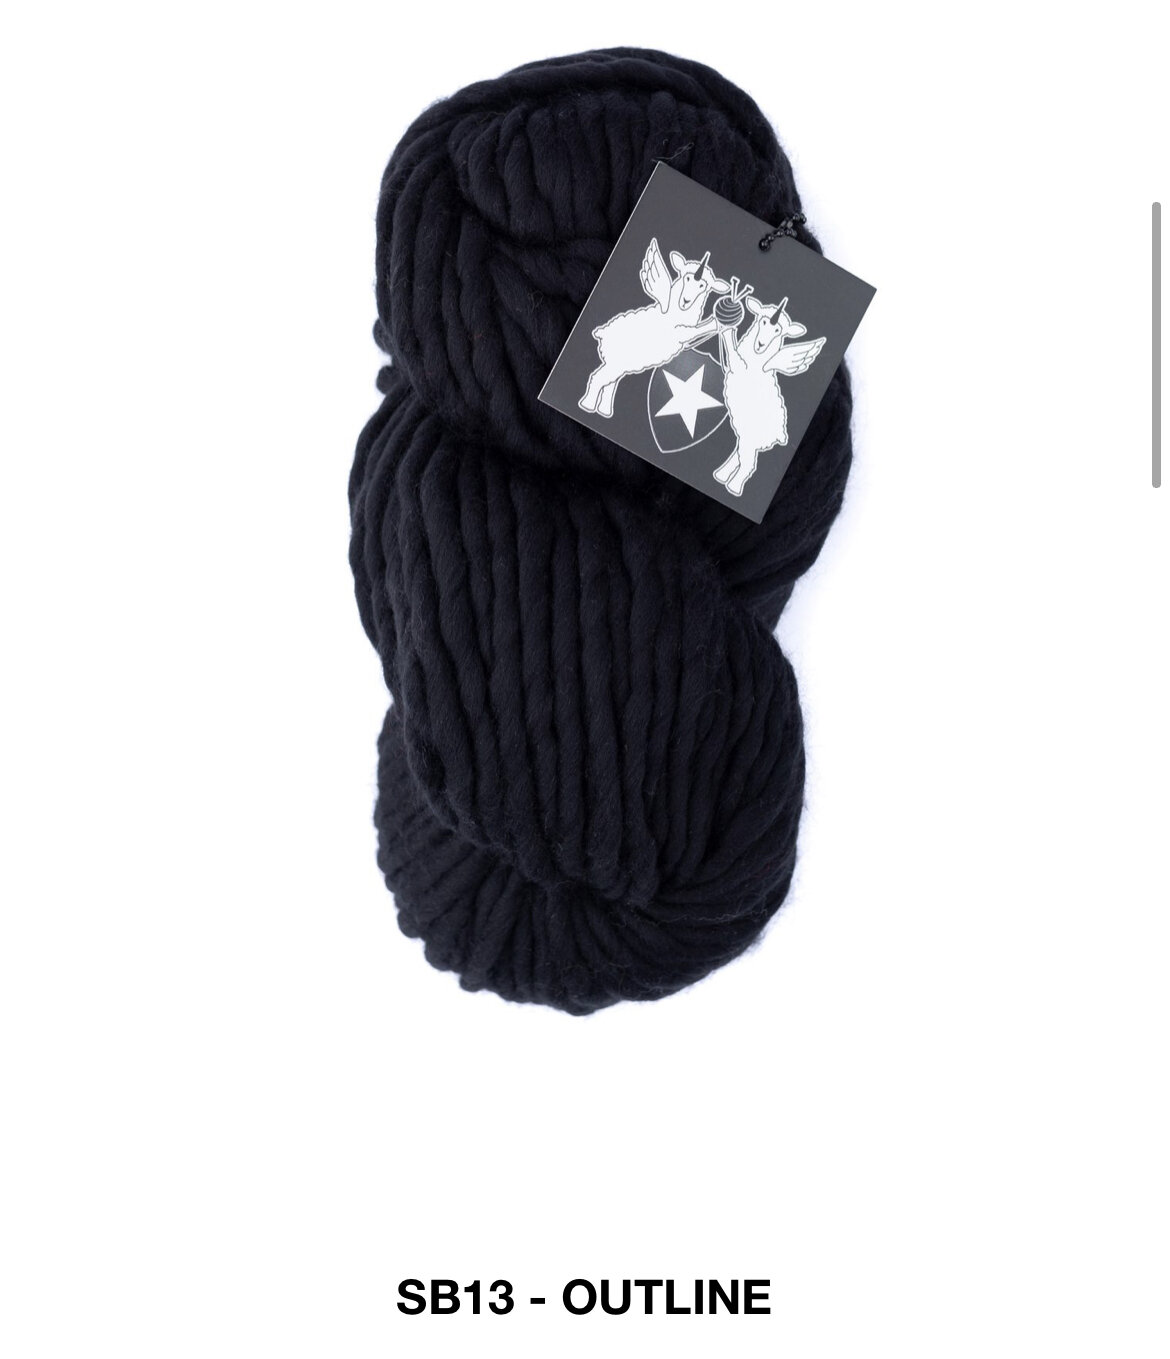

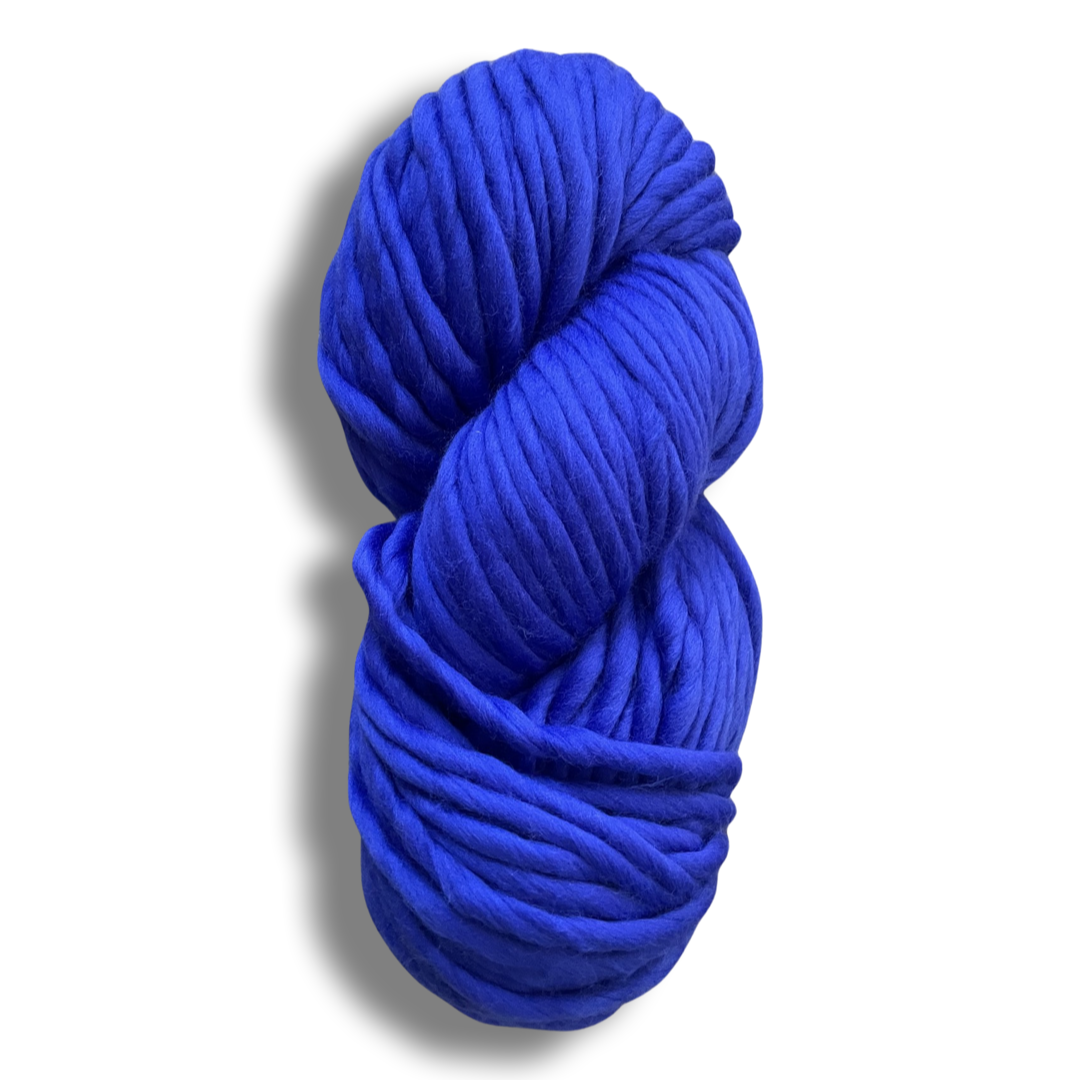

This yarn is far superior to other similar yarns on the market not just because of it’s beautul subtle color options but also because it’s made form 100% Super fine Merino Wool vs wool of the Andes or other wool blends. Ya’ll know I love some wool blends and I’m always trying to get people to move past thinking everything has to be merino wool but for projects with this type or yarn I think super softness and a thicker yarn makes for much nicer longer lasting projects. From personal knitting expiernace I have found that these yarns do not shed and come apart like some of the other popular options out there. If you look over in the picture above you can see what I’m talking about.. The deep green knit cowl is an “ un named popular competitor “ and you can see how after wearing it’s starting to shed and loose stitch definition and integrity. It is also a much thinner yarn and can be squished flat unlike the Galler Super B as seen in the grey project. So all of that plus superior softness defiantly makes this yarn the top of the list if you’re looking for a super bulky/ chunky option. Galler Yarns is one of my absolute favorite small family run yarn lines from New York since the 1950’s. They are a true boutique for fine yarns and the whole CHY Staff is borderline obsessed.
100% Super Fine Merino Wool
USA 11-19 needles
1-2 sts and Inch
107 yards
8.8 oz skeins
Handwash in cool water lay flat to dry. do not bleach