Quick DIY Wool Needle Felting Project for a Snowy Day
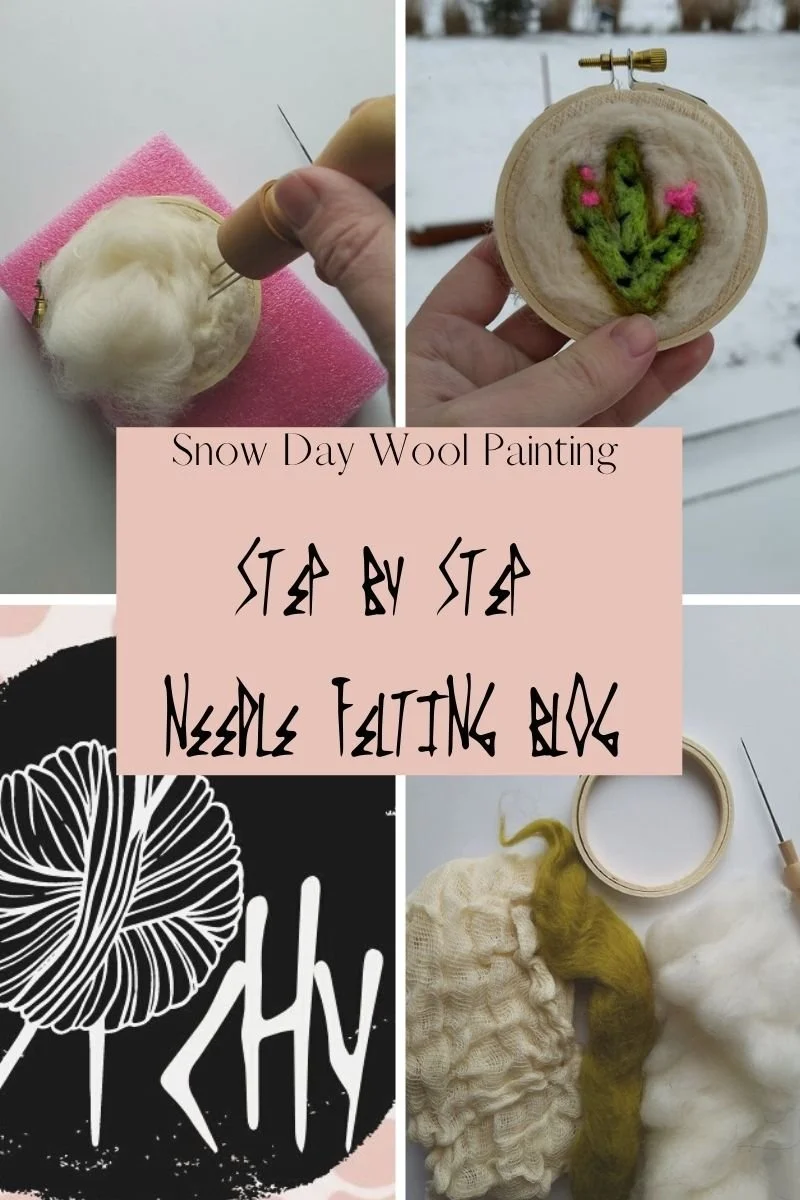
Snow Day Wool Painting
Written and Designed by Brittany of @Bee _ Ritt _ Fiber_ Arts on Instagram Please follow her for more inspiration and creativity with the fiber arts. You can even buy some of her gorgeous art yarn weavings at her Website .
If you’re looking for a quick and easy snow day felting project to bring a little brightness to your home this tutorial is for you. I have found stabbing wool repeatedly with a needle to be a great way to de-stress when the day has been chaotic- snow days home with all the kids alone being a great example. I love this project because it was easy to set down and walk away and make snacks, change a diaper, or turn on the next episode of Mickey Mouse.
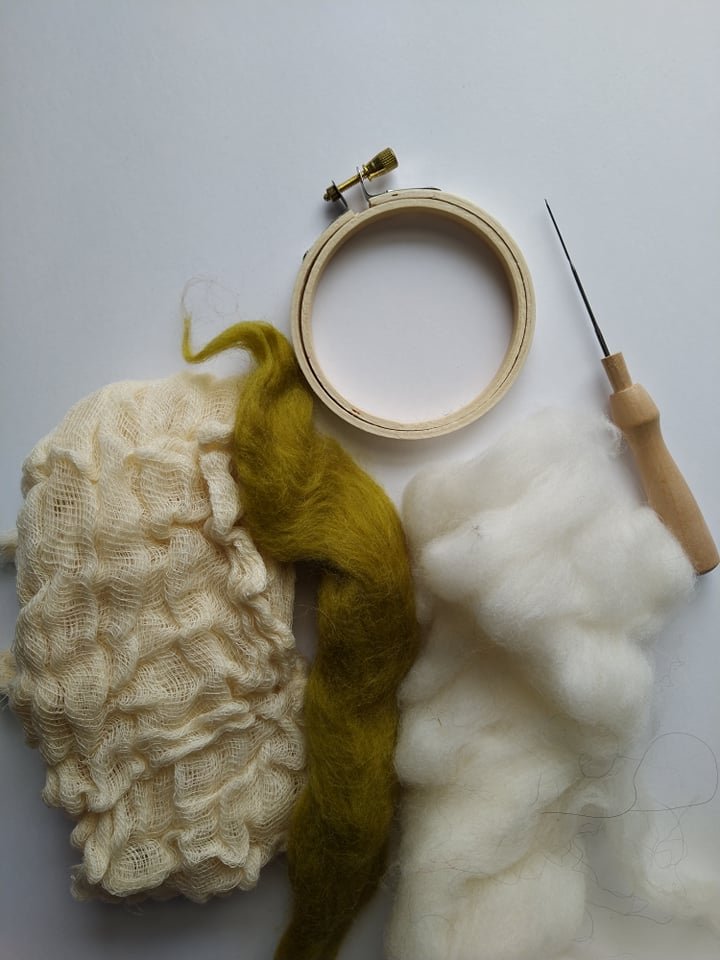
Materials needed:
-embroidery hoop, size of your choice
-square of cheesecloth, at least big enough to fit on your embroidery hoop
-wool and other feltable fibers
-scissors
-felting needle(s)
-stencil (optional)
Tips: Start with less wool and add as you go throughout the whole process. You can always add more, but it is very difficult to remove if you’ve felted too much and it takes longer to felt a thicker/bigger section at once. Also, I recommend using quite a small hoop if you want this to be a quick project. The bigger surface area on a larger hoop is going to be quite time consuming when you are getting your “canvas” set up.
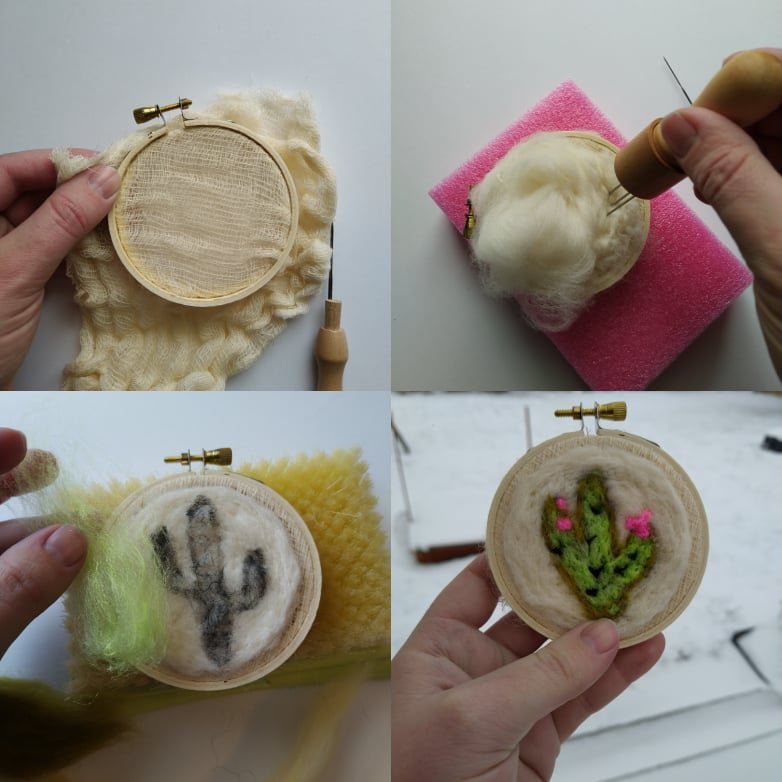
Step 1:
Position a layer of your cheesecloth over the center hoop (or 2, I did a double layer for this tutorial) and fit it through the big hoop, pulling it taught and even on all sides of the circle. Tighten the outer hoop and trim the excess cloth.
Step 2:
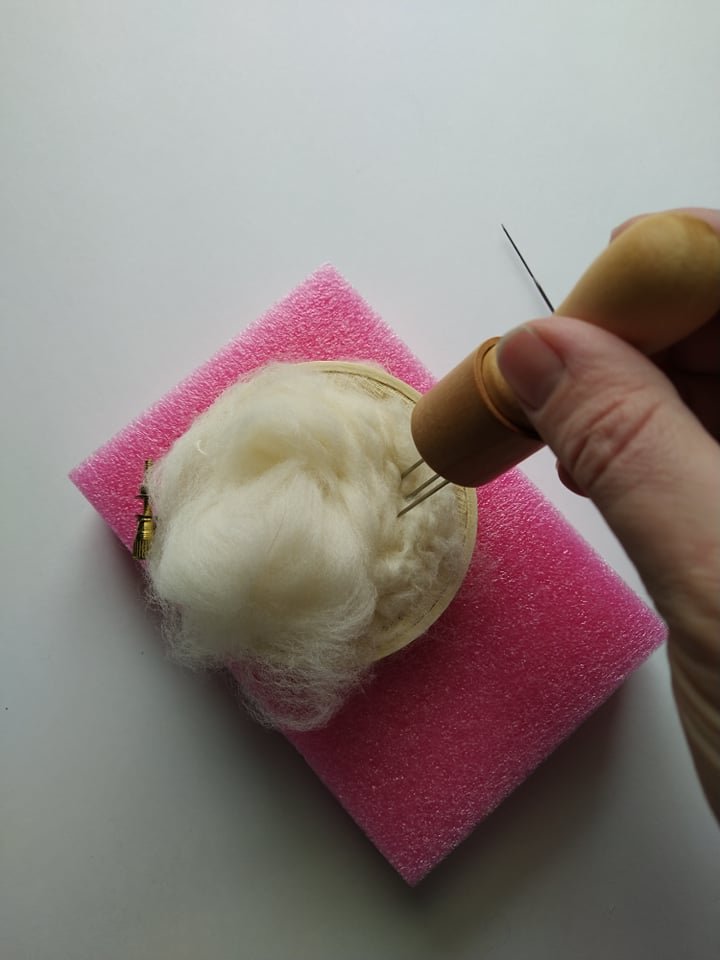
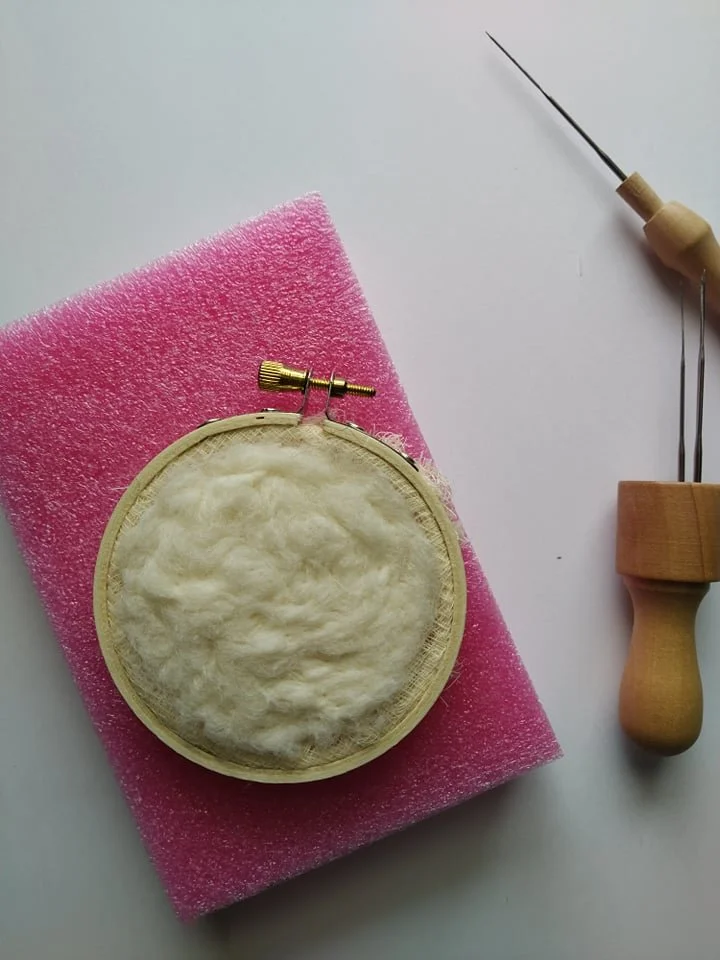
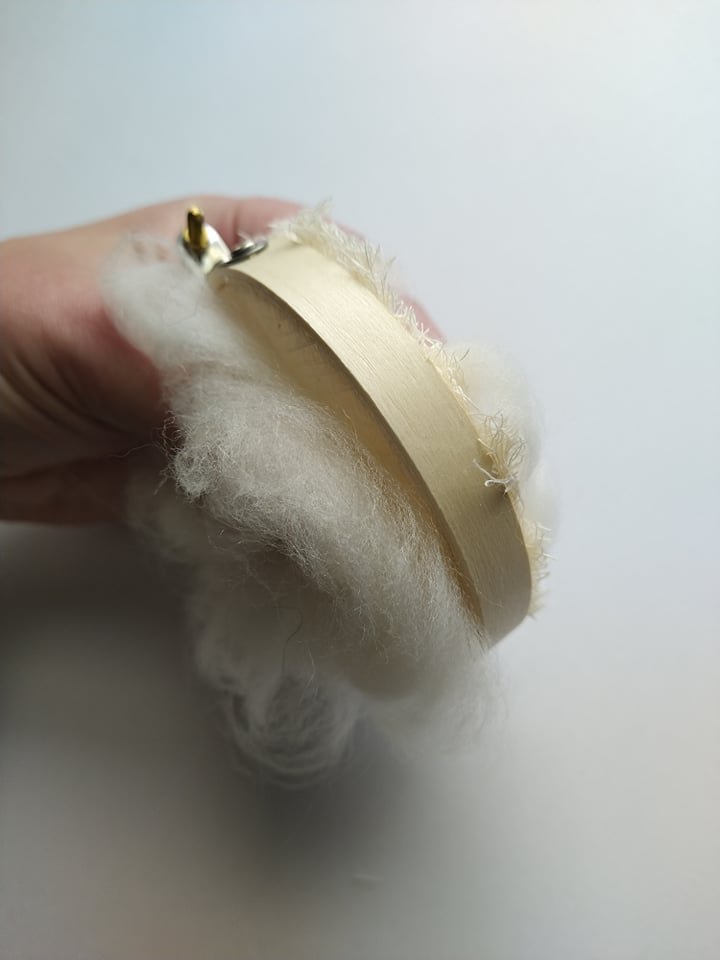
Sandwich your “canvas” wool on the front and back of your hoop and cheesecloth. Felt, felt, felt! Continue felting each side of the “canvas” until you have desired thickness and density. You may need to add to this as you go, so make sure you have plenty of extra to keep building up this layer around the outside.
Step 3:
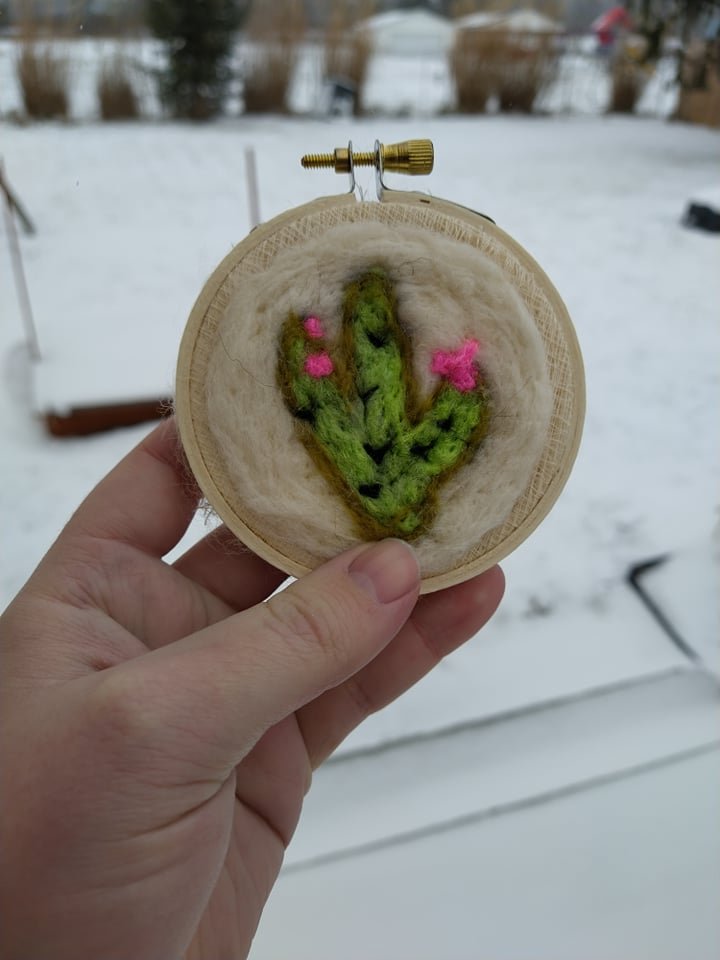
Wool painting! You can do this however you are feeling. You can free hand your design, do something abstract, or use stencils to help you make your shapes. I will be super honest and tell you I was having trouble with the stencil and ended up using a permanent marker to shade in my shape.
Do this part in layers. Again, I recommend using very small bits of wool, wisps even, to help you carefully shape your design. You can make it look more finished by adding an outline and other details. As you add to your design you will find your canvas shrinking, so this is when you will likely need to add more around the edges.
You can get as creative and detailed with this part as you want: make 3D appliques, experiment with mixed media, embroider the edges. Or keep it simple with a 2D outline and some little details.
Optional Step 4:
You can glue a backing on your painting if you are worried about it collecting dust or want to ensure it lays nicely against your wall.