How to Weave a Belt with Yarn- Part 3 - Weaving your Belt
How to Weave a Belt with Yarn- Part 3 - Weaving your Belt
This is the third installment in our Braid to Belt series from Jessica Jane Patterson from Spinning Shadows. Make sure you check out the first installment here first.
For this section Jess uses a warping board which she has set up on a table to measure the number or strands and length she’ll need for the belt before adding it to the shaft.
Here is a quick overview of how a warping board works.
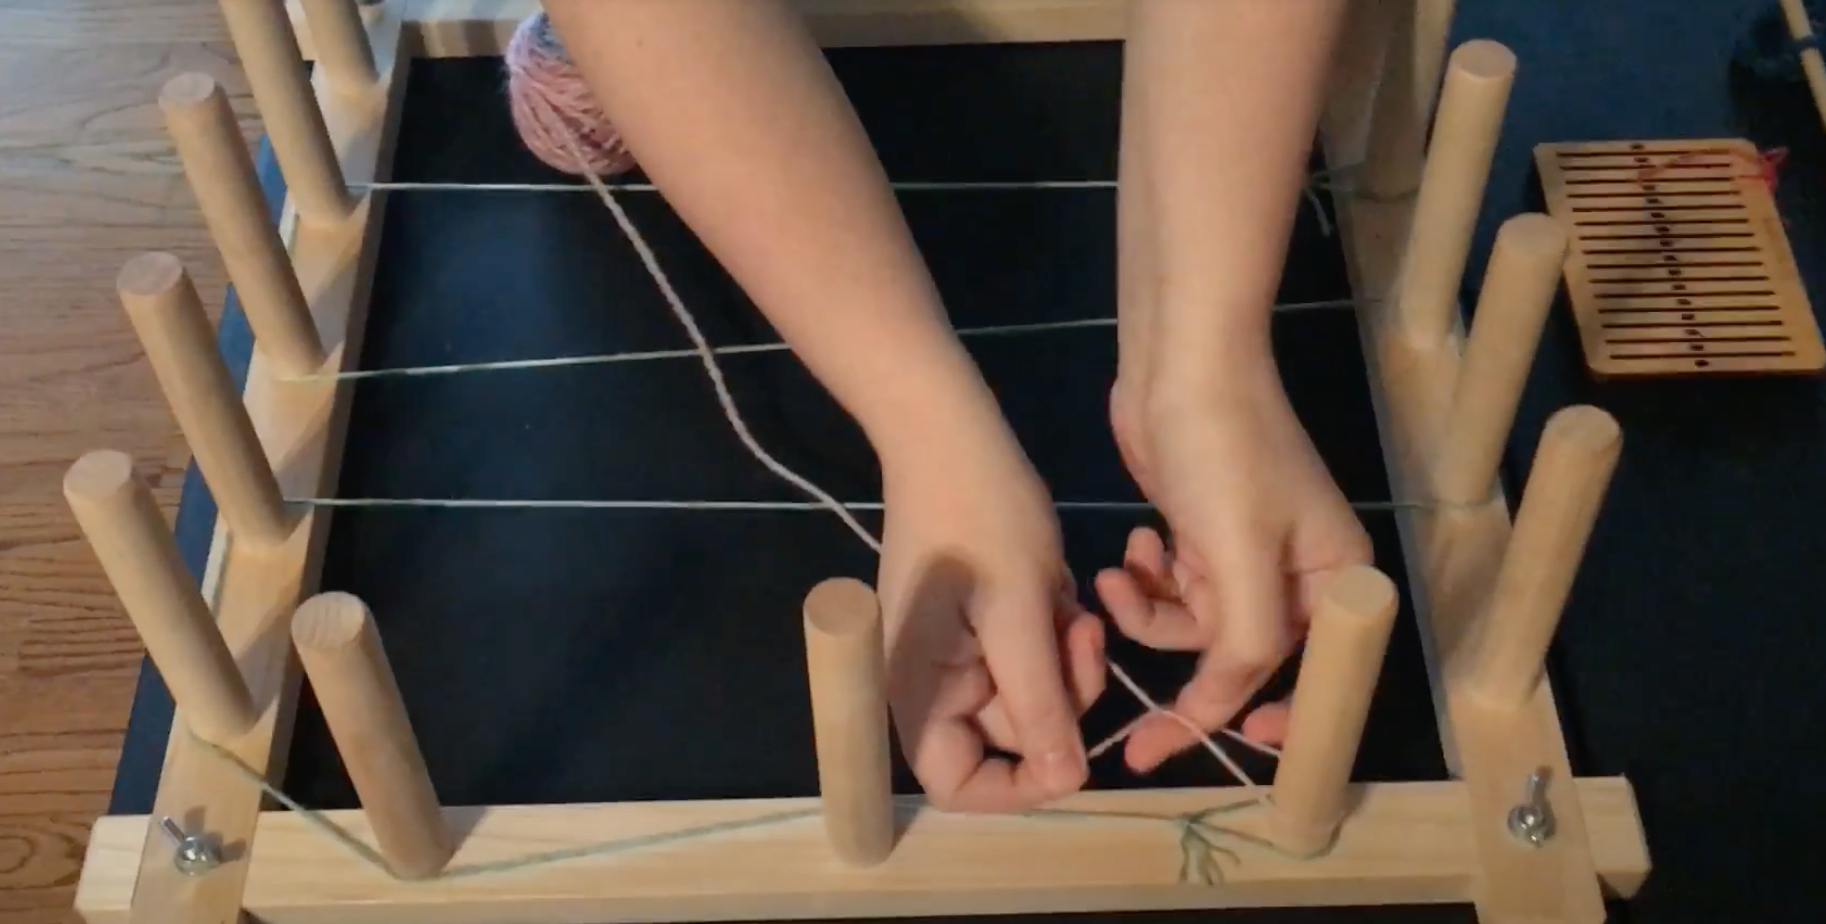
Before starting your weaving then you will figure out how many warp ends ( each time you will wrap around the pegs) you need and how long those wraps will need to be. This is the first step when it comes to using your warping board.
Grab a strand of yarn that is different from what you are weaving and measure out how long you would like your belt to be. Also please make it a little extra long for tying off etc.
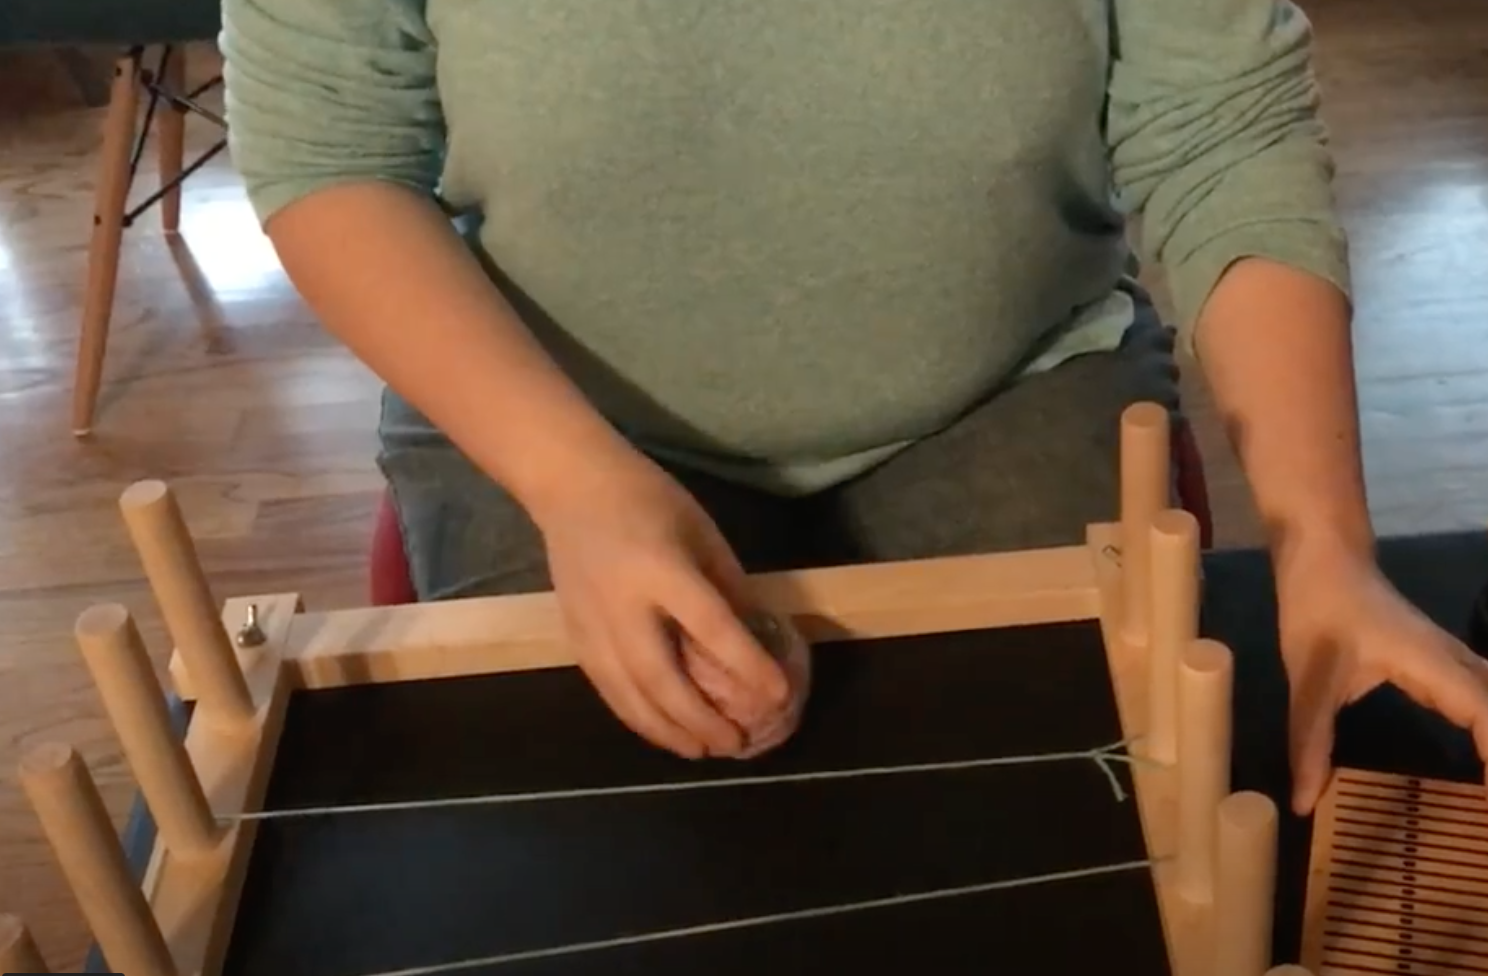
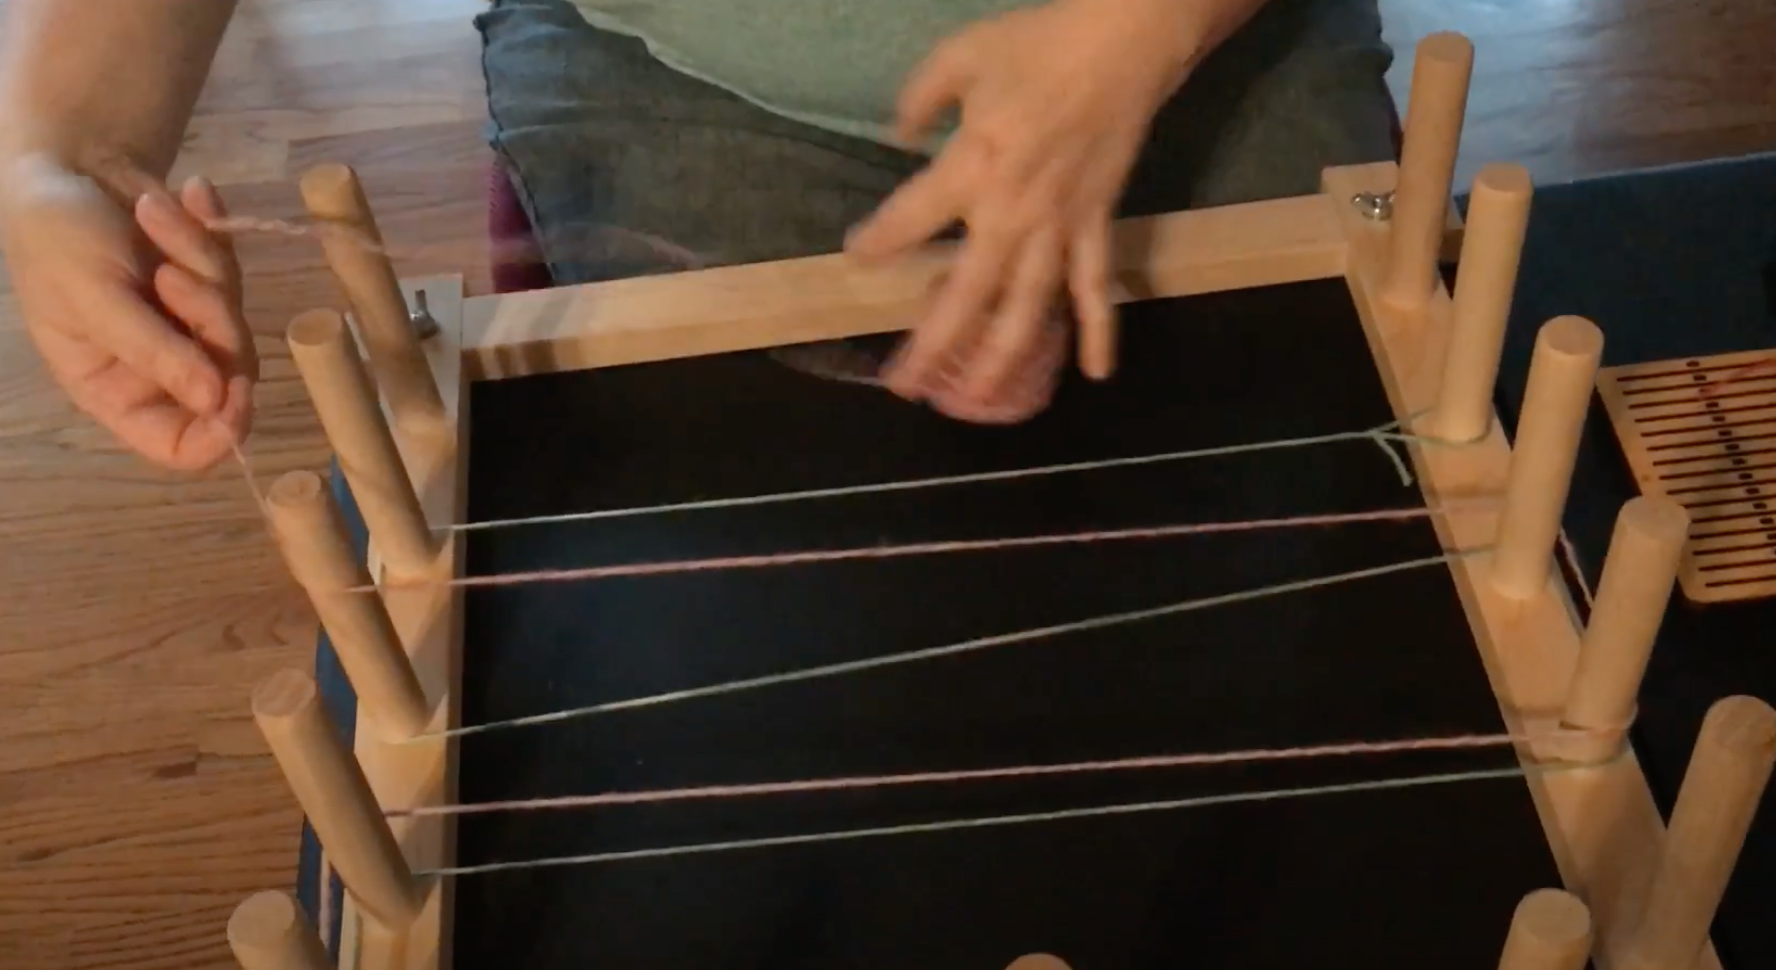
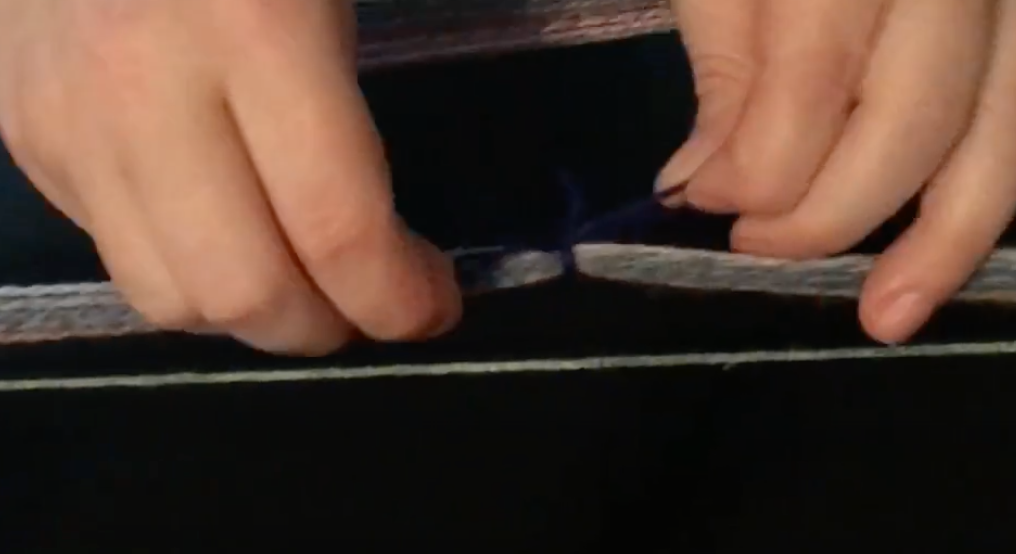
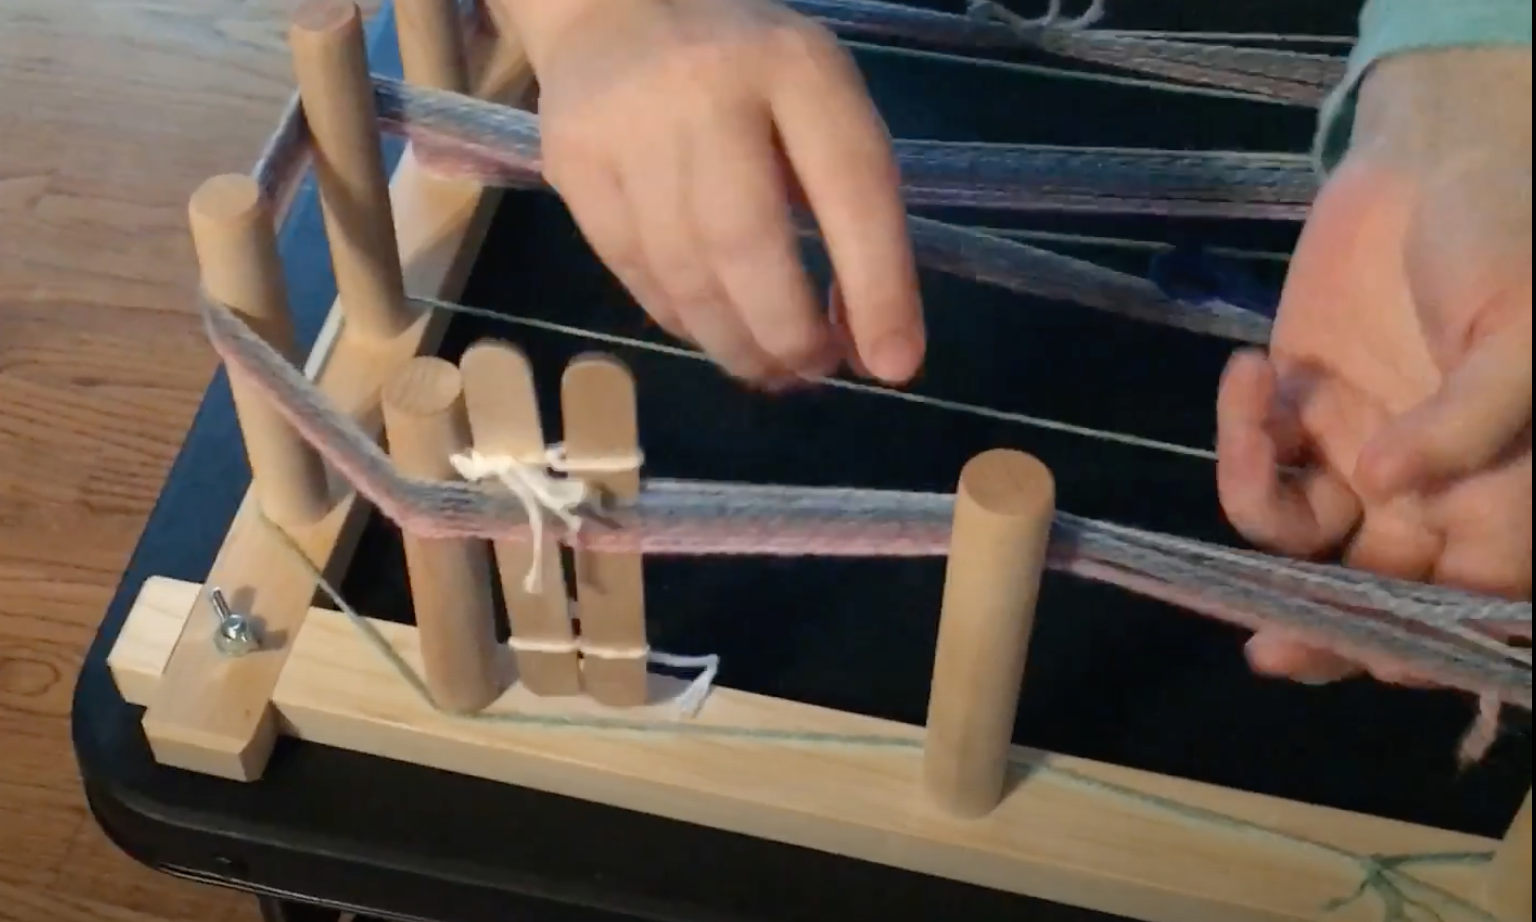
You’re then going to take the guide strand to make a “ warp path” on the warping board” To do this you tie it off on one corner and then wind the yarn in a back and forth manner on the pegs where you can make a circle and connect back to wear you tie off. So depending on the length of your guide strand you may or may not use all of your pegs. When you get to the end of your loop you’ll want to make an over under loop forming an X as seen in the pictures below before heading back in the opposite direction of the loop.
In this project she makes 12 loops of the yarn across the warping board following the path laid out by her guide strand.
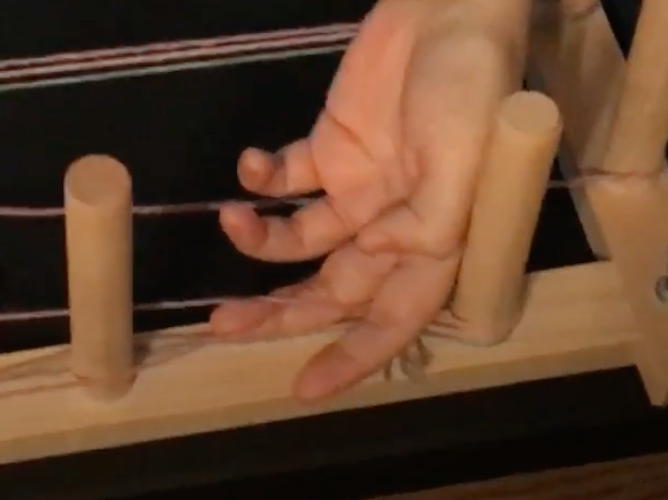
You then want to use a couple pieces of scrap yarn to tie off some sections in your warp similar to tieing off ends on a skein on a niddy noddy.
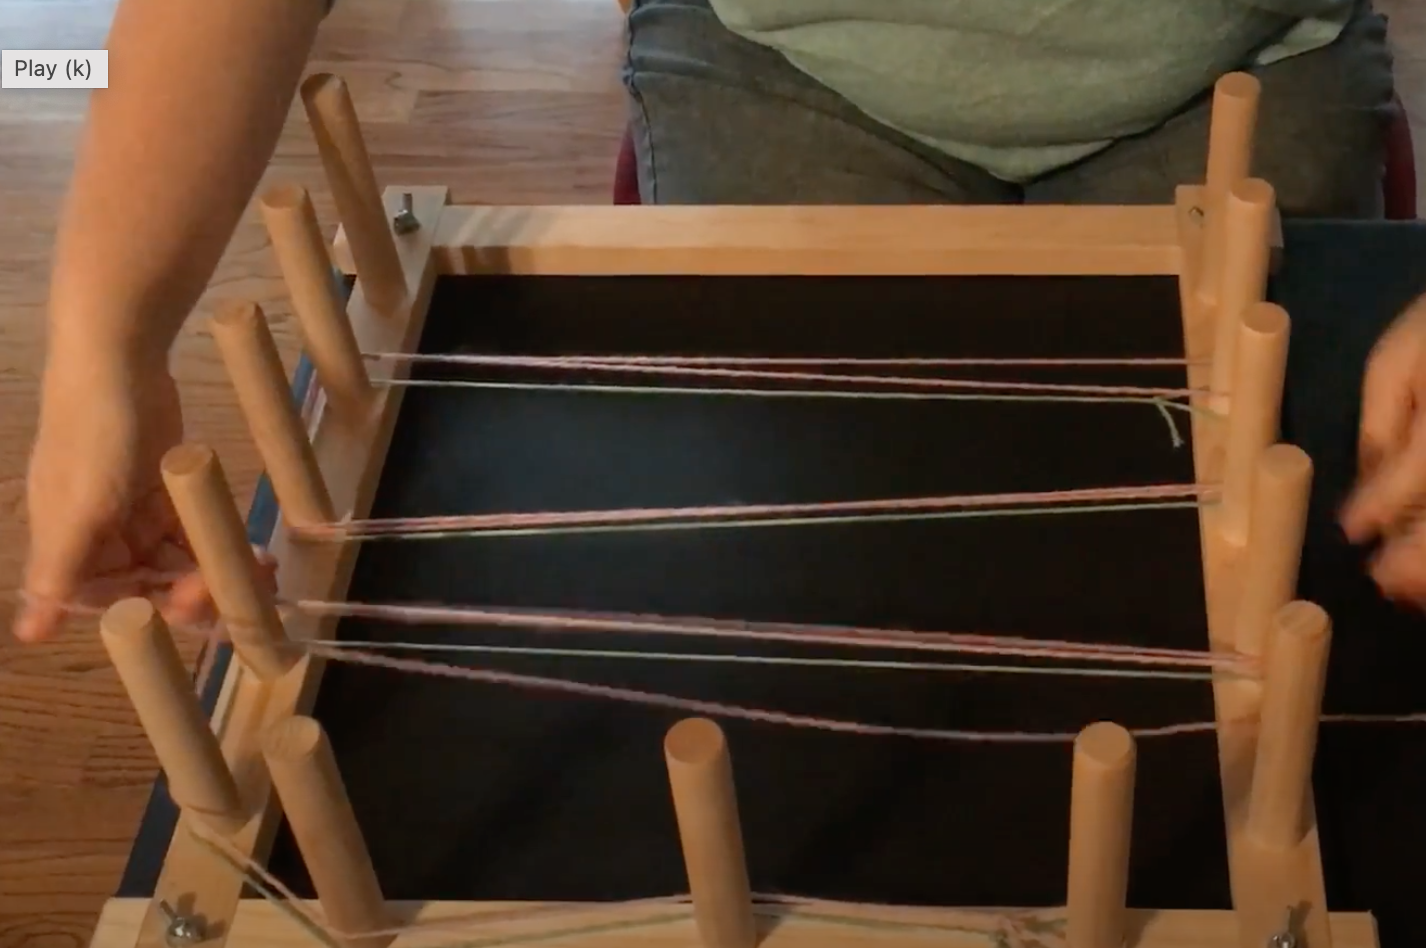
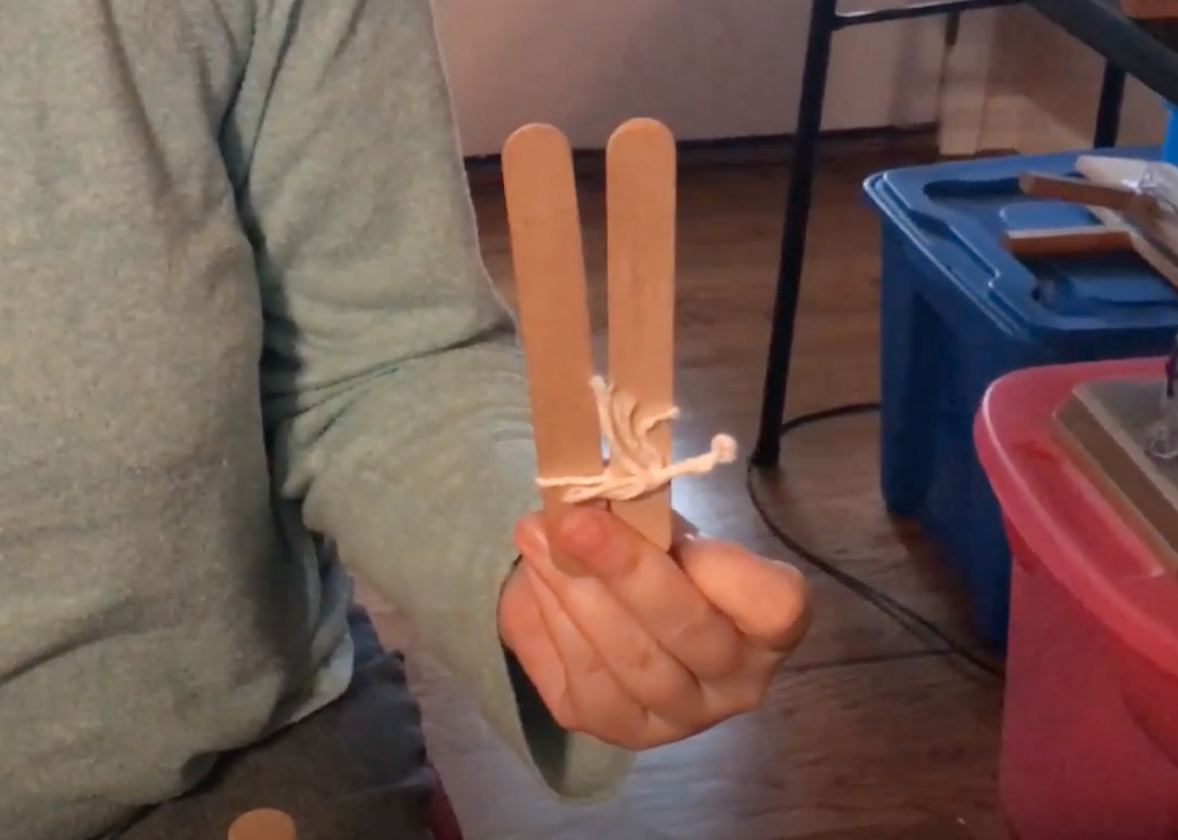
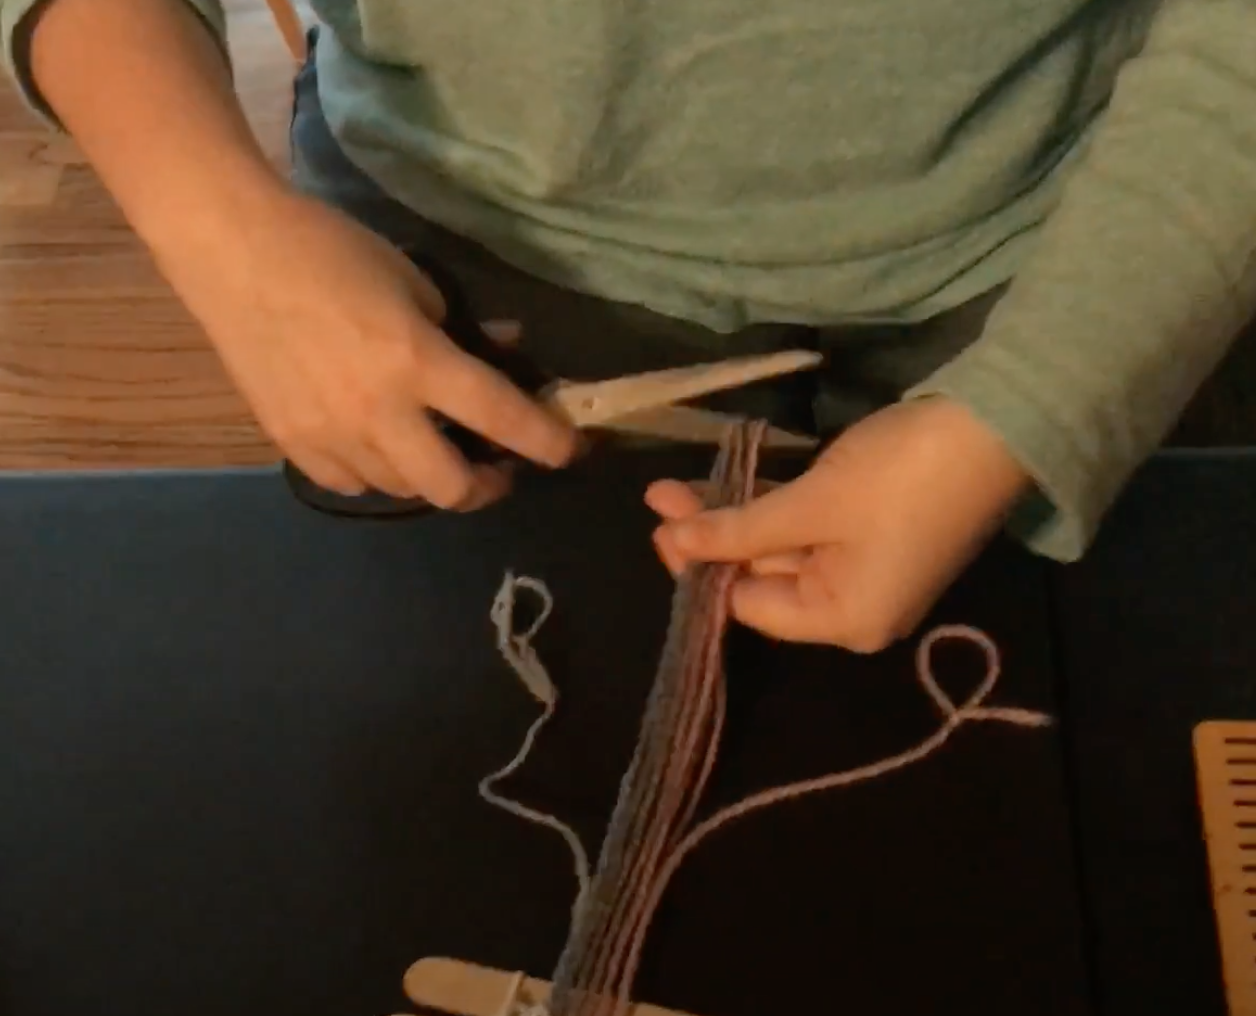
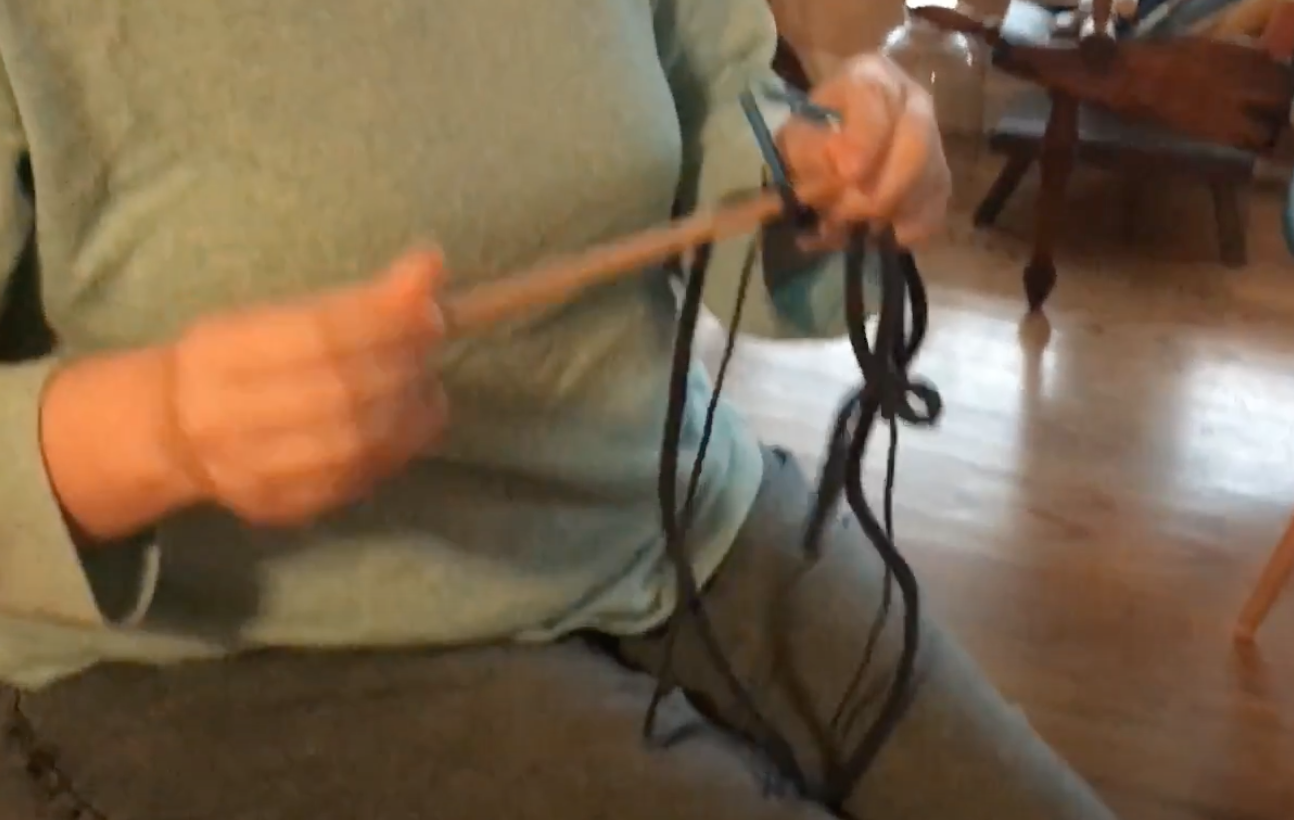
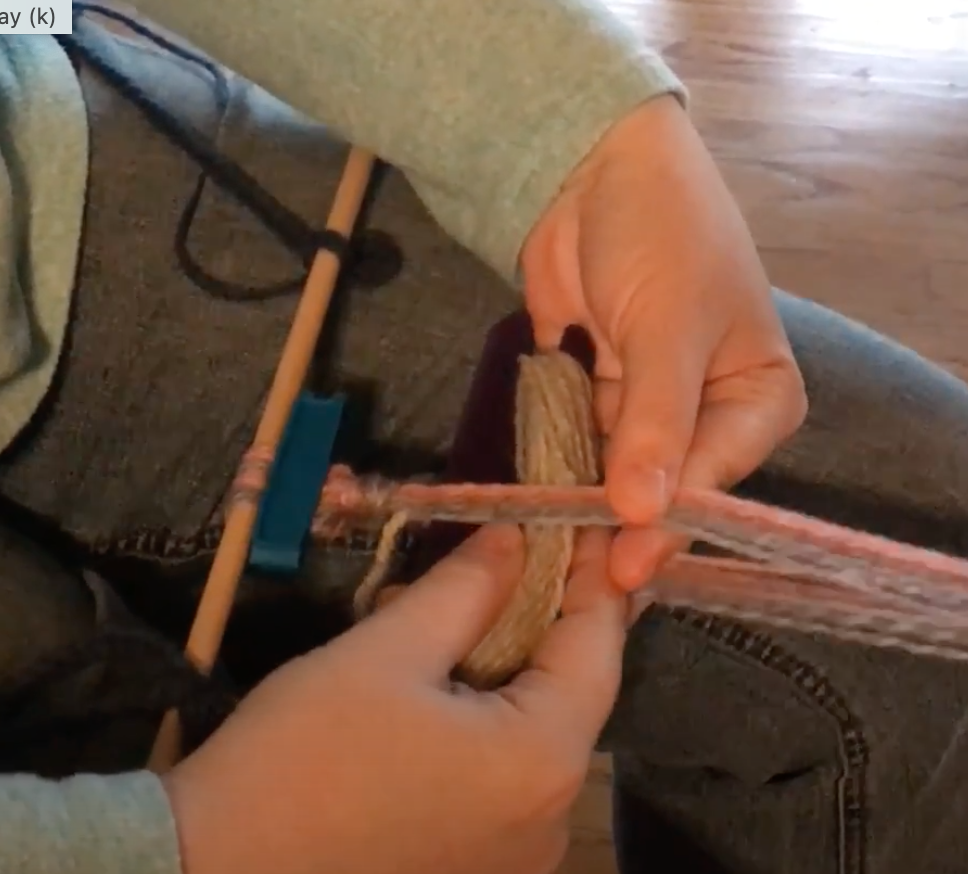
You will then take two popsicle sticks or tongue depressors that are loosely tied together and insert them in to the X that you have formed at one end of your loops. Once the sticks are in the X you can slide it down a ways and remove everything from the warping board.
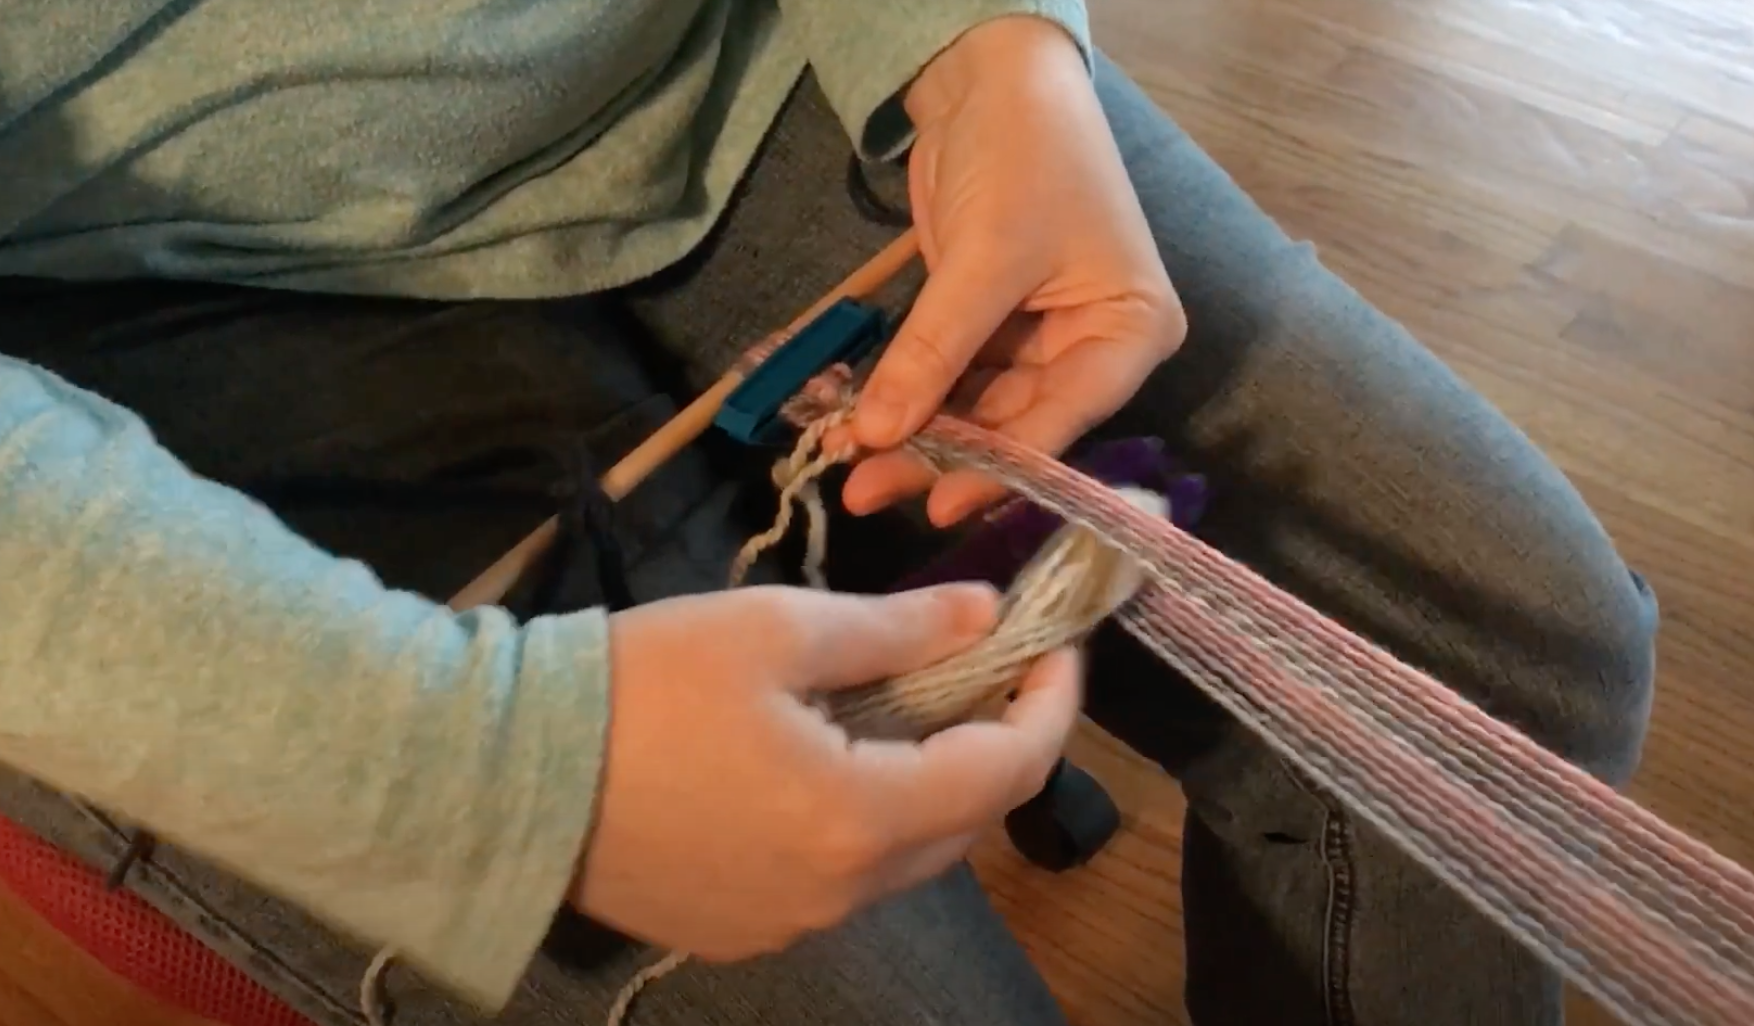
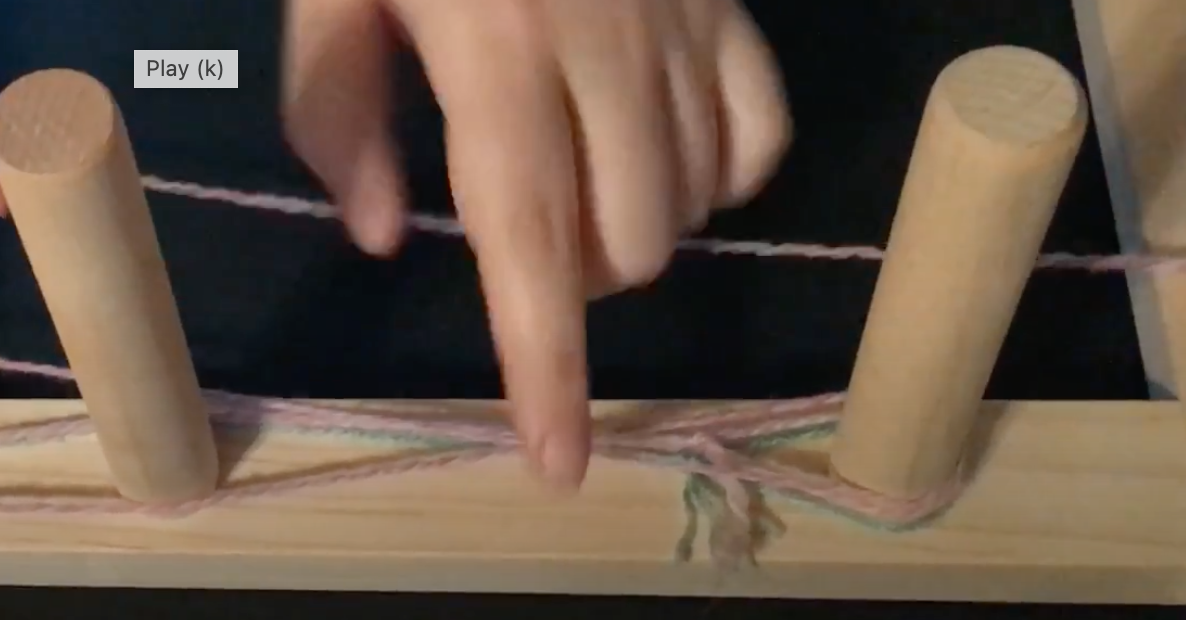
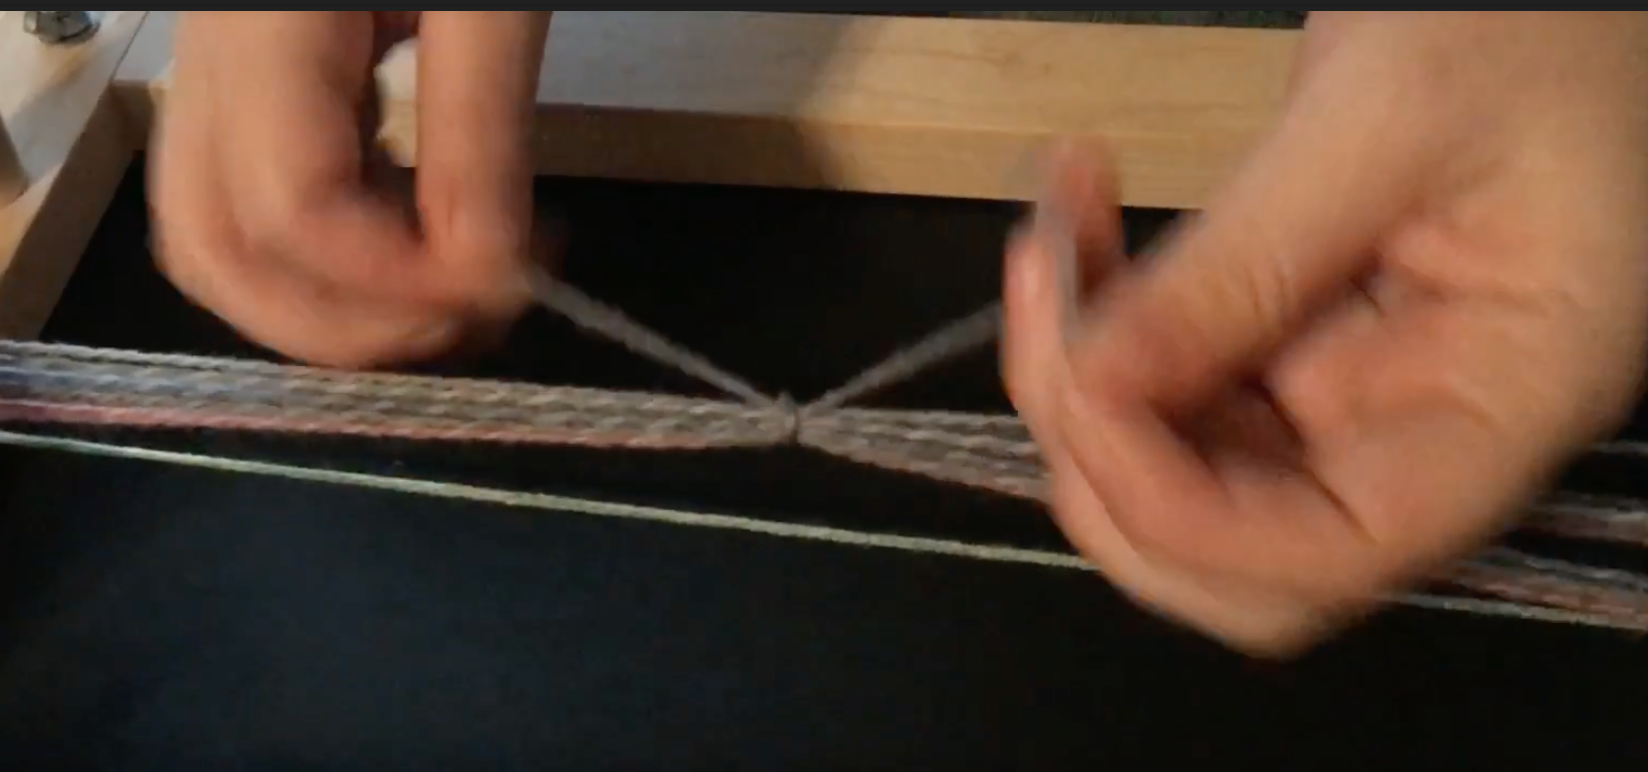
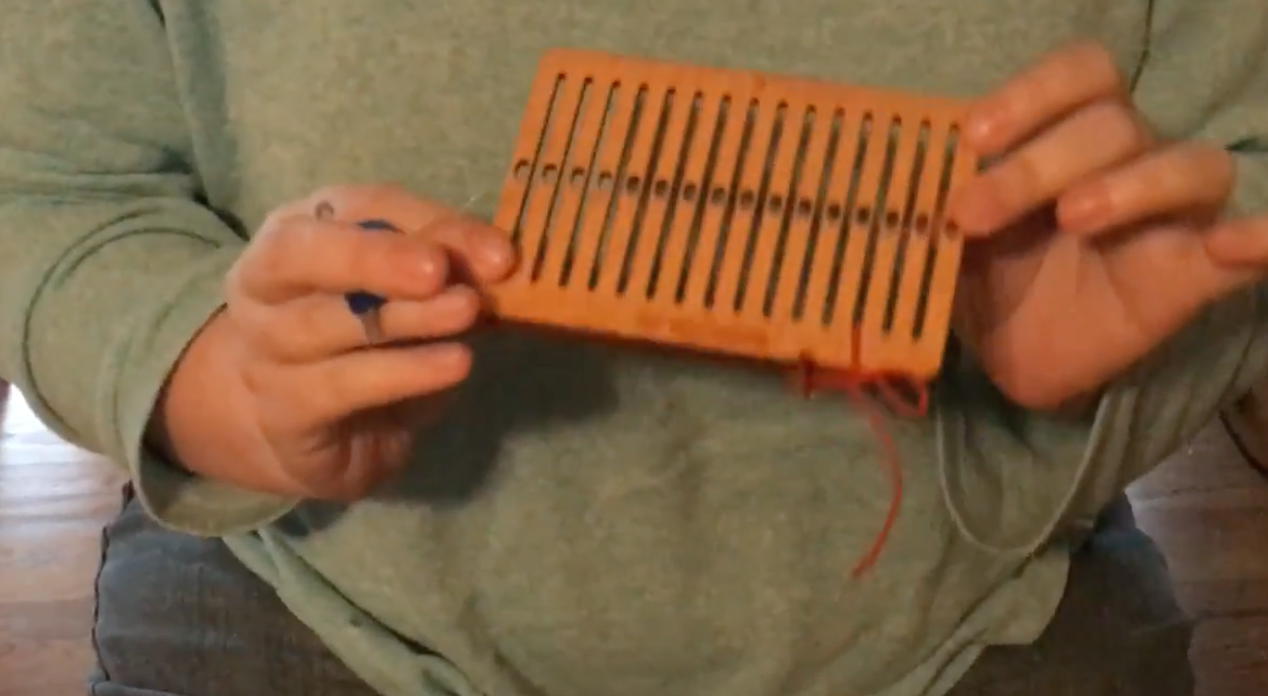
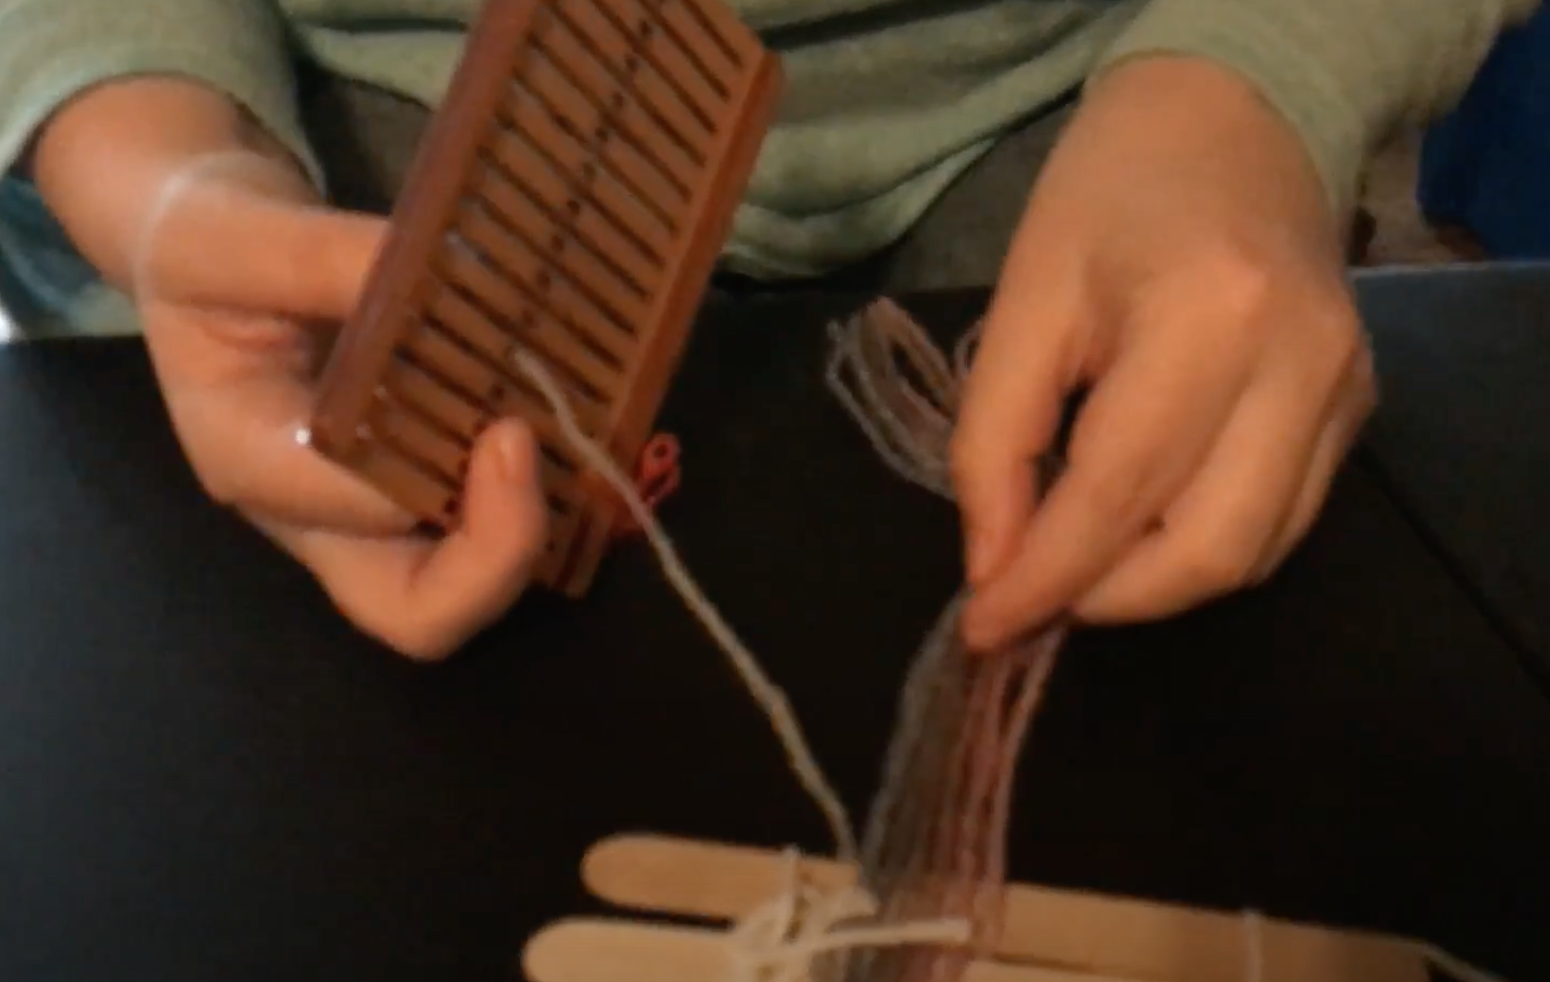
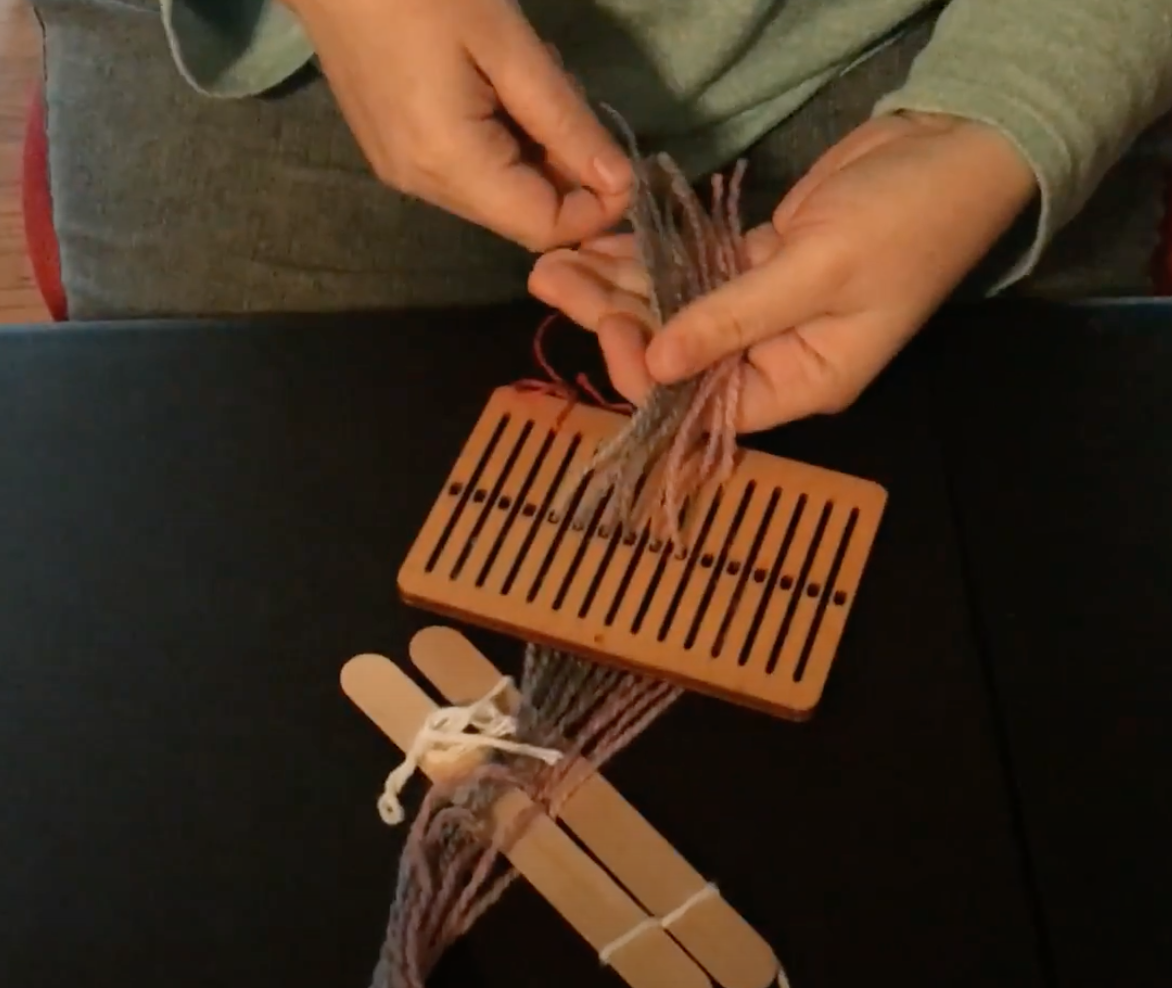
The reason you slide the sticks down is to give yourself some room to cut the loop and insert the cut ends though the heddle. ( you can buy these online) Please see the pictures below for more info.
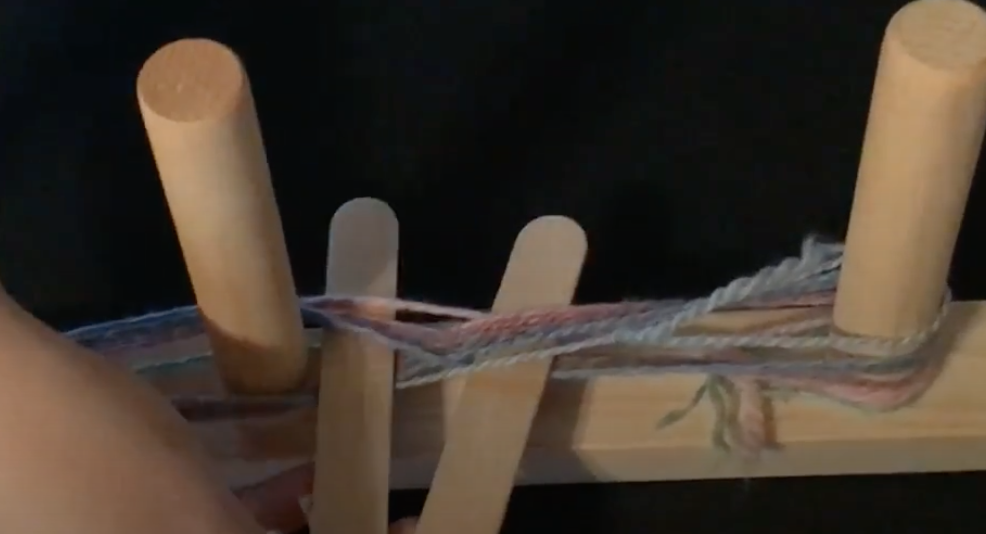
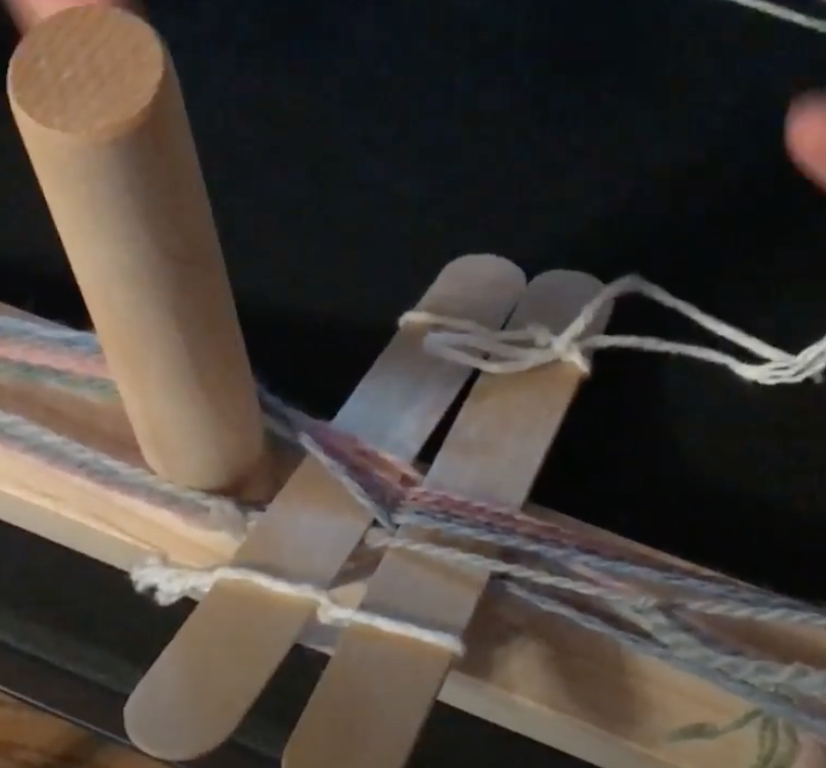
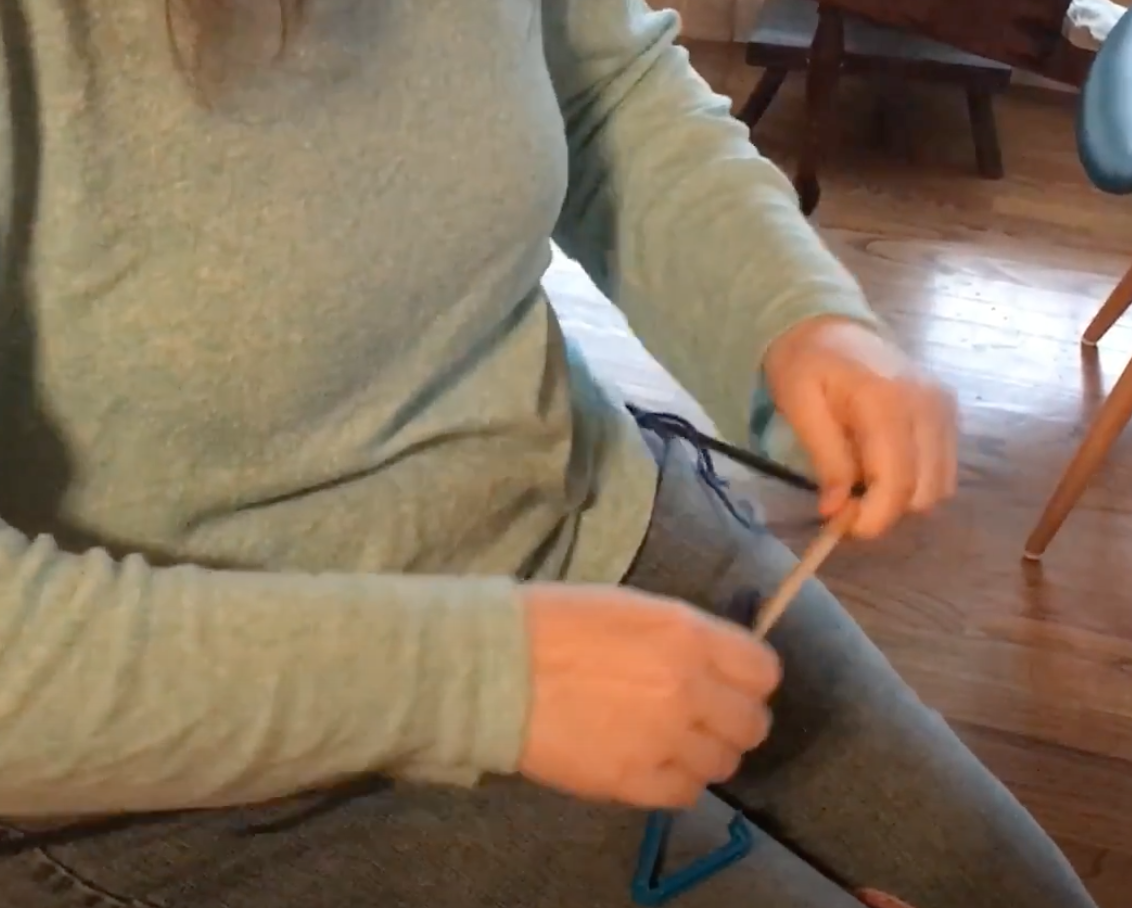
While threading you will alternate between feeding the yarn though the holes and the slots in-between. This allows for the up and down weaving movement.
You then tie off all of the ends in a knot after feeding them though the heddle.
Here is a great video from Jessica’s YouTube Channel Spinning Shadows showing warping a board. This video is form a different project but it’s very helpful.
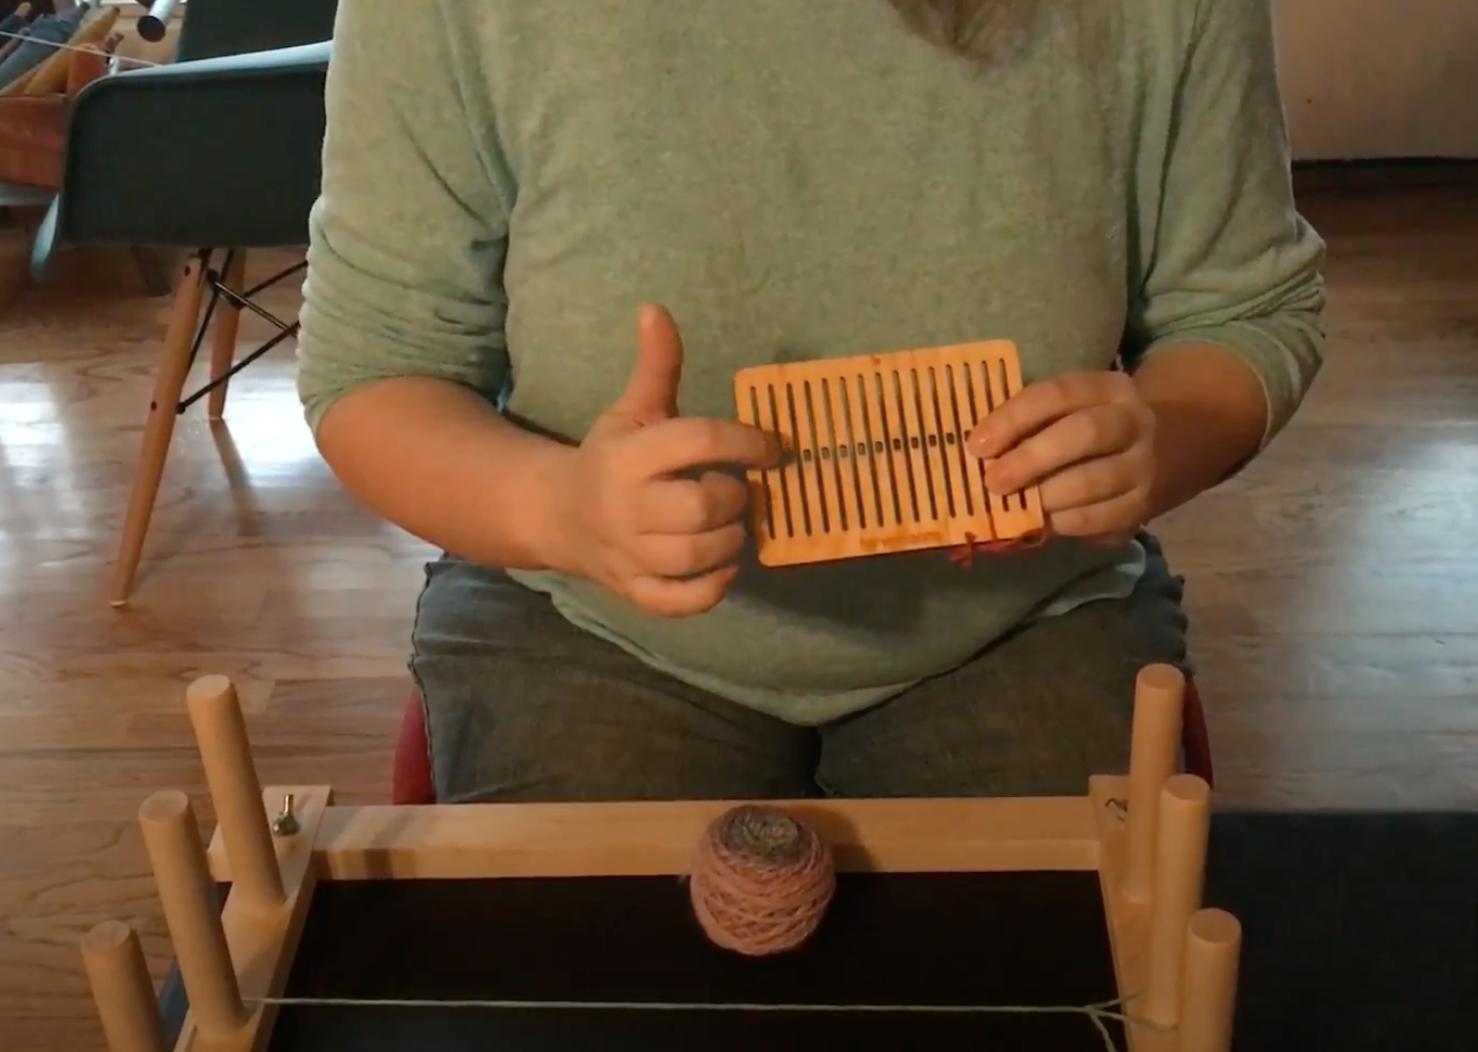
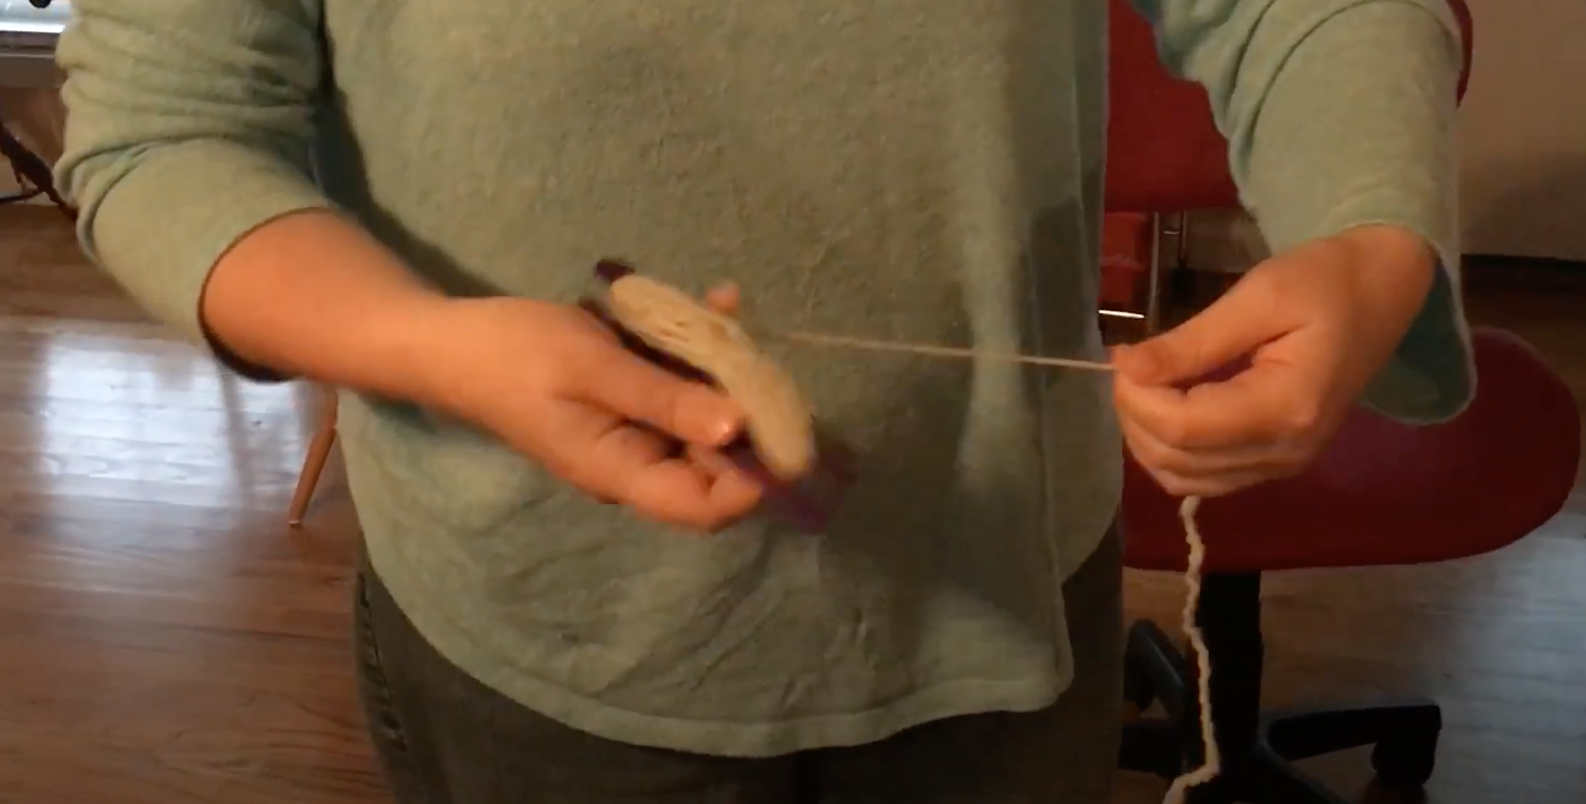
You will then take the rest of your yarn that didn’t get used for the warp and wind it onto a shuttle. This will be for your weaving.
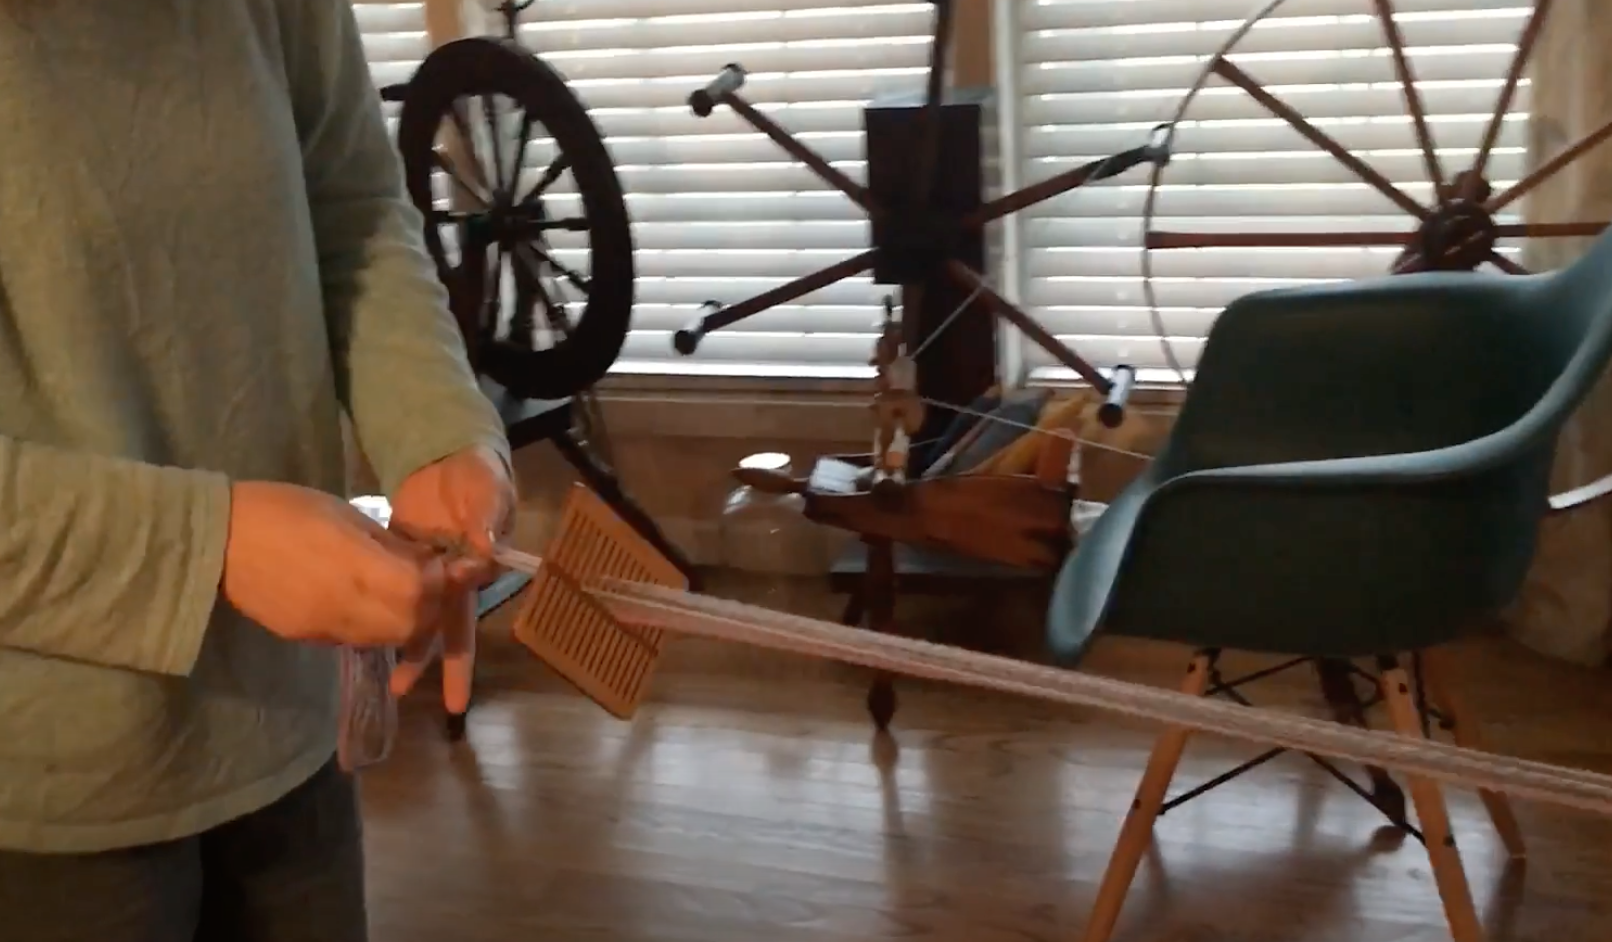
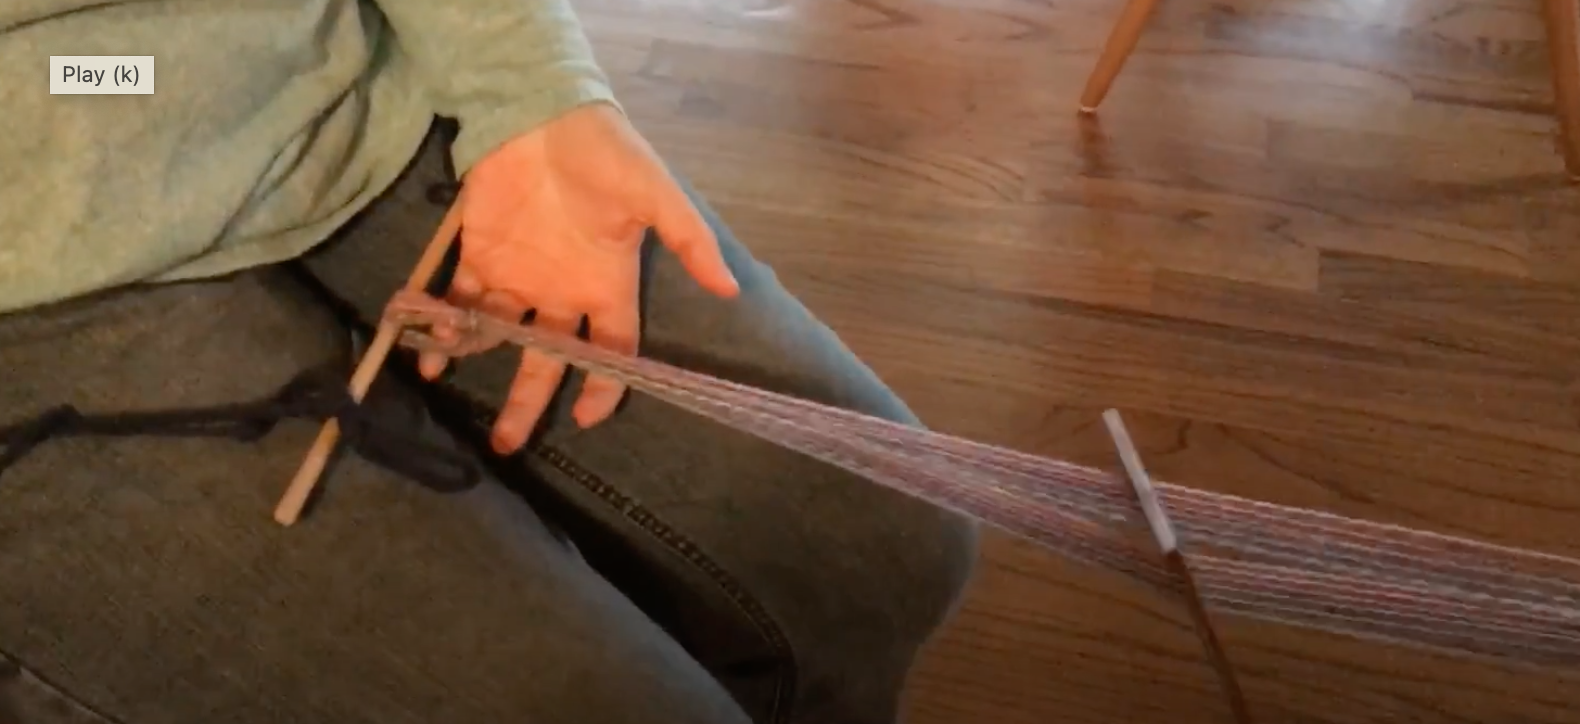
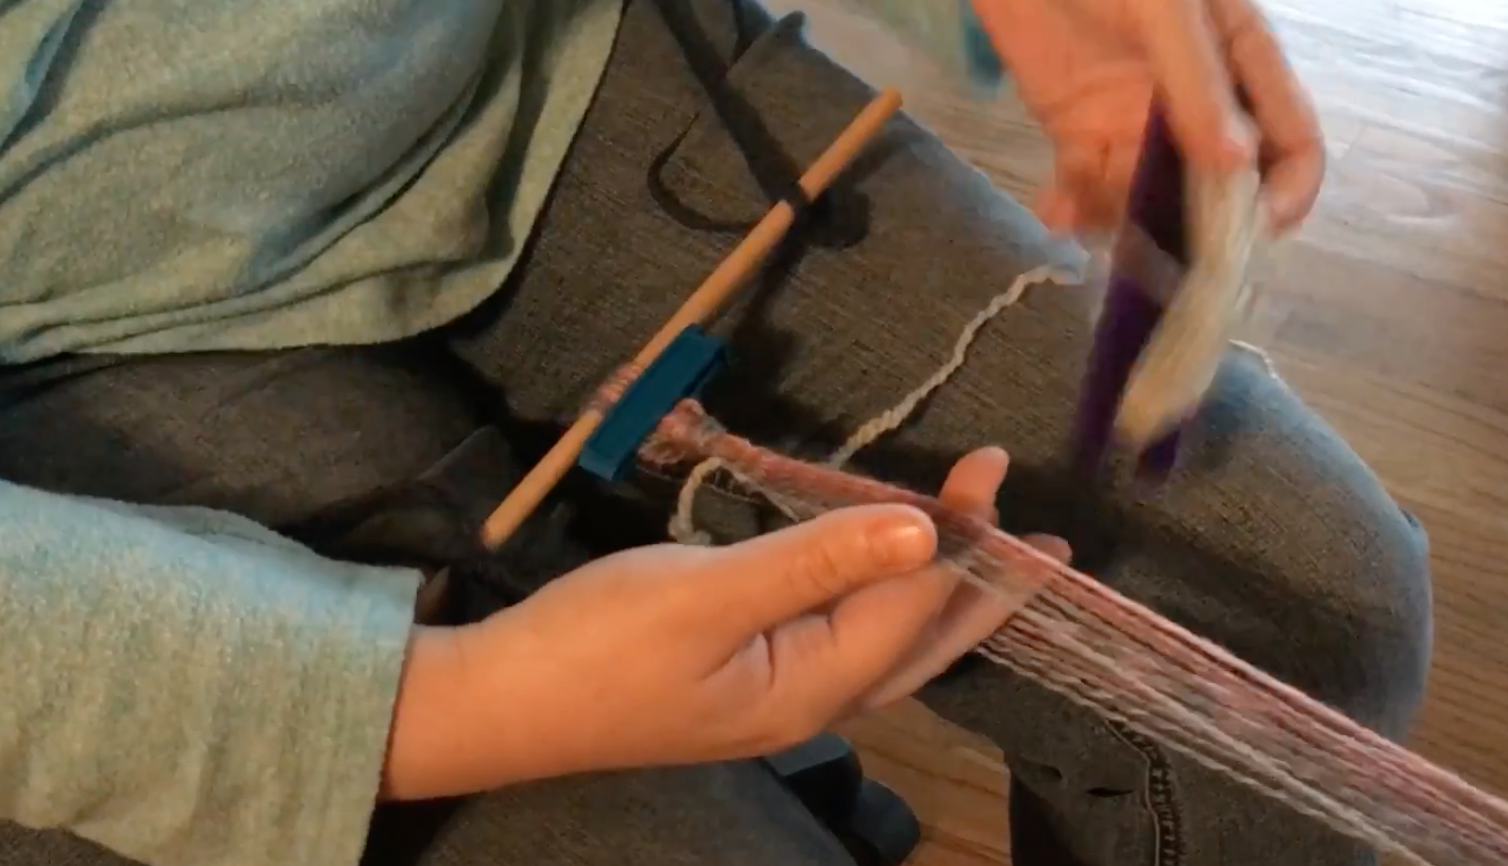
She then explains that you want to tie the other ind of your warp that doesn’t have the heddle to something heavy in your home like a table leg. She recommends positioning your self then accross from the warp in a rolling chair if you have one and securing the end of the warp around your waist that has the heddle. To do this you’d want to use a belt or stick with bands to secure around your waist and then tie off the second end of your warp with the heddle so you can sit down with tension and then start weaving. ( see pictures below)
You then just work the shuttle back and forth alternating between the heddle being up or down to keep your weaving going till you reach the end.
I like most of my projects to be something you can make at home without having to buy lots of supplies. If you google alternatives for a warp board many ideas come up. Since this project is just making a small belt vs a large weaving you can come up with many smaller alternatives including some stakes in the ground evenly spaced out in your yard.
For the Heddle and Shuttle if you are handy with wood work you could perhaps make your own but it looks like you can also find many affordable options on Etsy and support cottage industry artist.


I hope you have enjoyed this part one overview of learning to weave a belt from your own hand spun yarn. Please make sure you check out the connected blog post in this series found for free in the blogs section of this website.
For the full step by step video footage please click the button below and consider joining us on Patreon. We use our Patreon account content to help raise funds to keep our sister site My Local Wool, staffed , and up and running. This as well as other exclusive fiber arts content is avilabe for all teirs on Patreon. However you can also check out the higher tiers if you’d like access to our “ Dream Yarn , Design and Spinning Course” as well as this extra exclusive content.
Thanks for your interest and support so we can keep supporting cottage industry and doing what we love!!

Click here to get the full video lessons 4 part video series and help out our mission to help small farms and mills